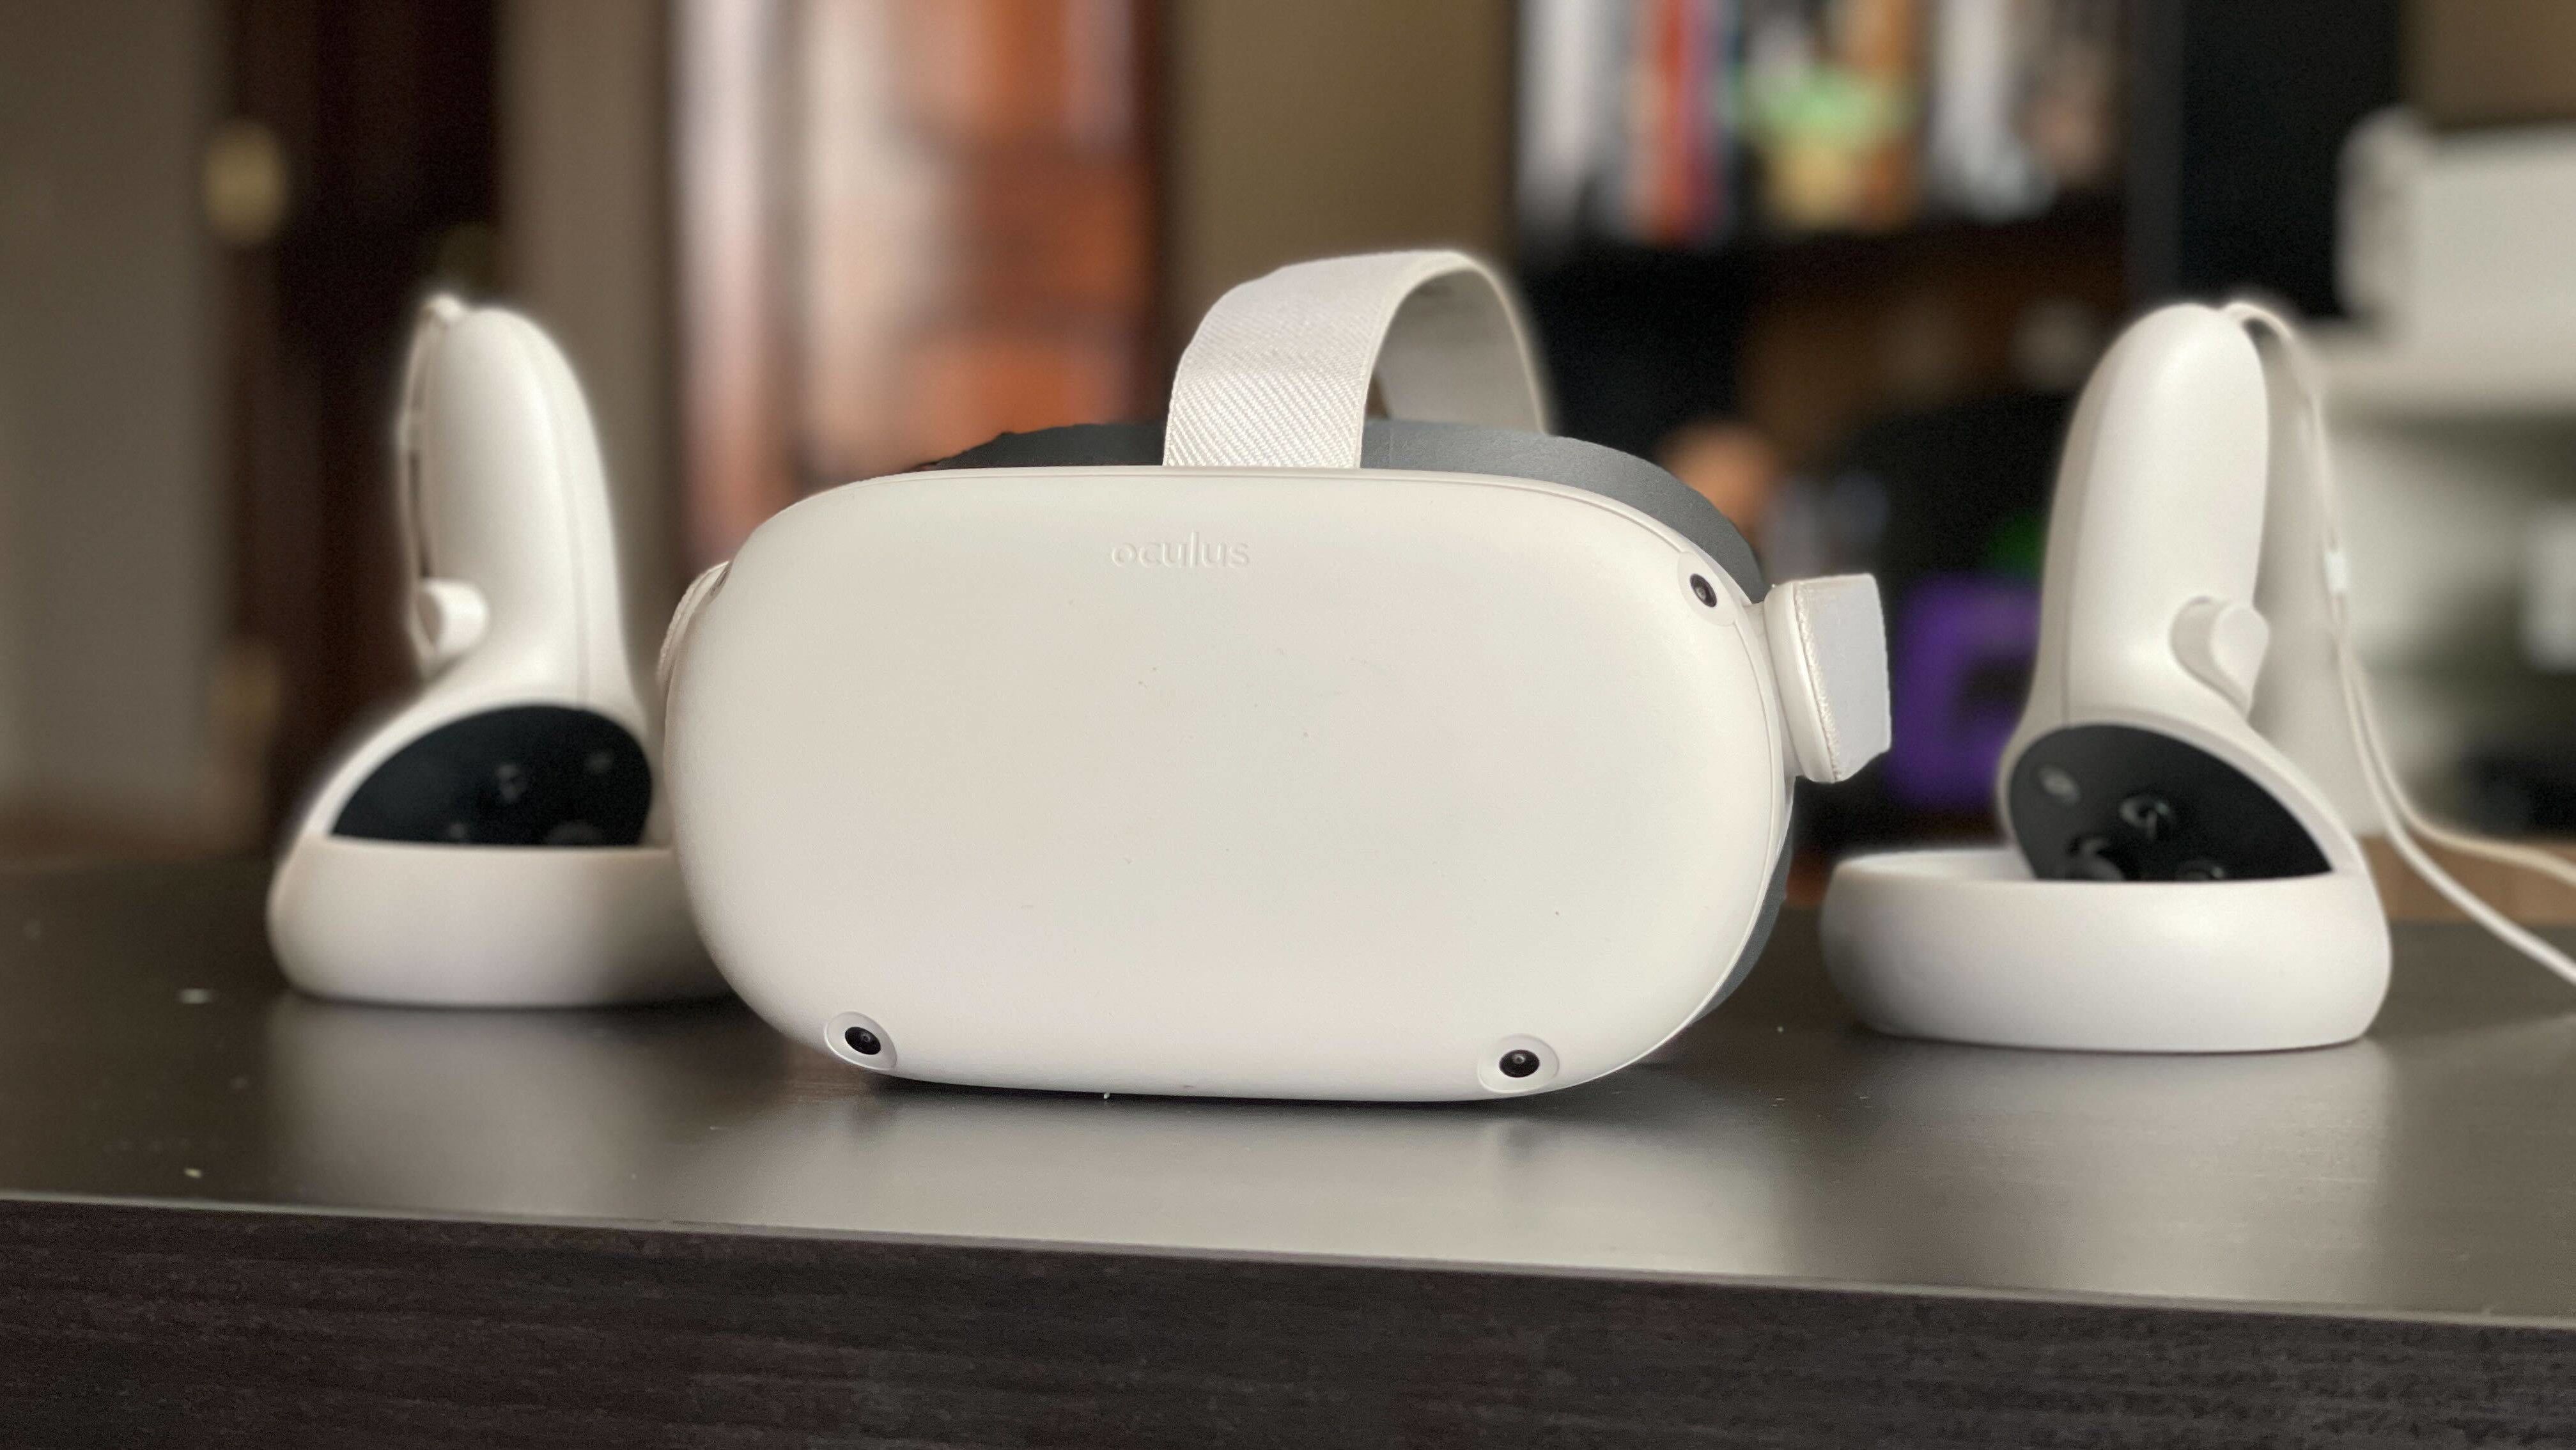
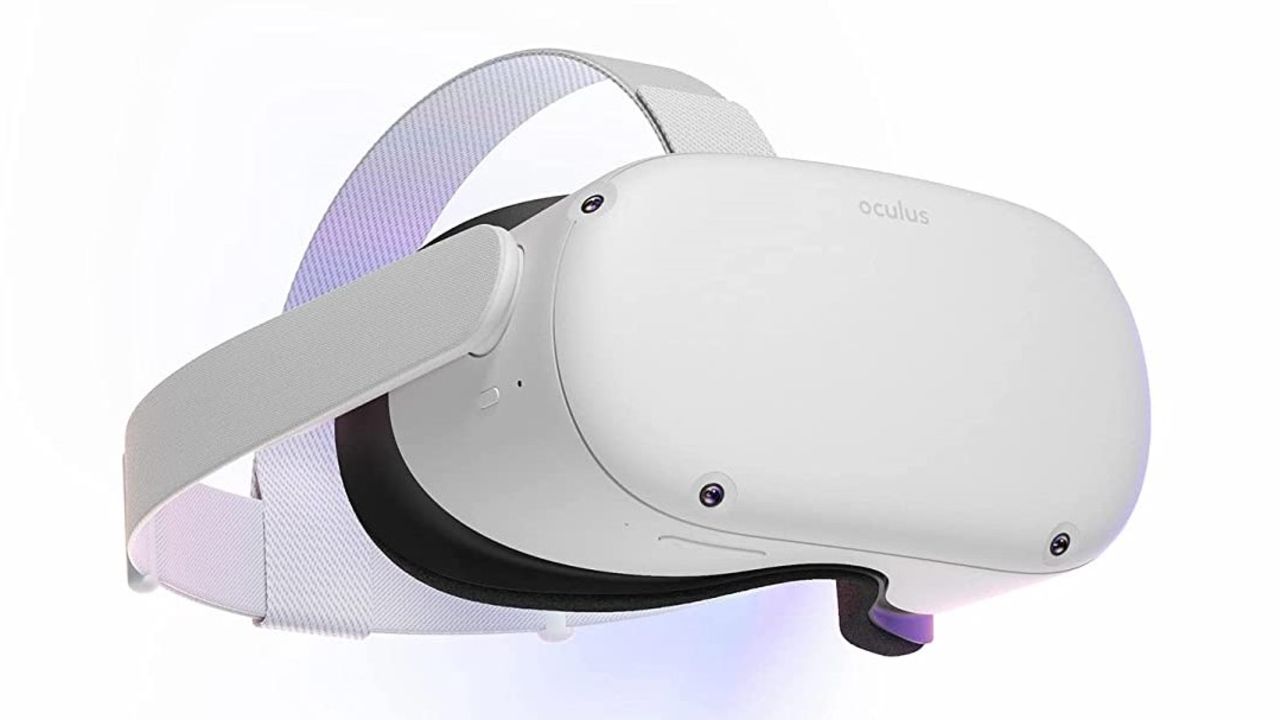
The Meta Quest 2 has long been our pick for the best VR headset, largely because of how easy and fun it is to use right out of the box. However, there’s so much more you can do when you’re not swinging around in Beat Saber, from tracking your fitness to turning your headset into a full-on PC gaming machine.
Ready to get the most out of your headset? Here are 17 tips every Meta Quest 2 (formerly known as Oculus Quest 2) owner should know.
If you're ready to get in on the fun for yourself, the Quest 2 is our favorite virtual reality headset thanks to its attainable price, ease of use and great software library.
1. Add some friends
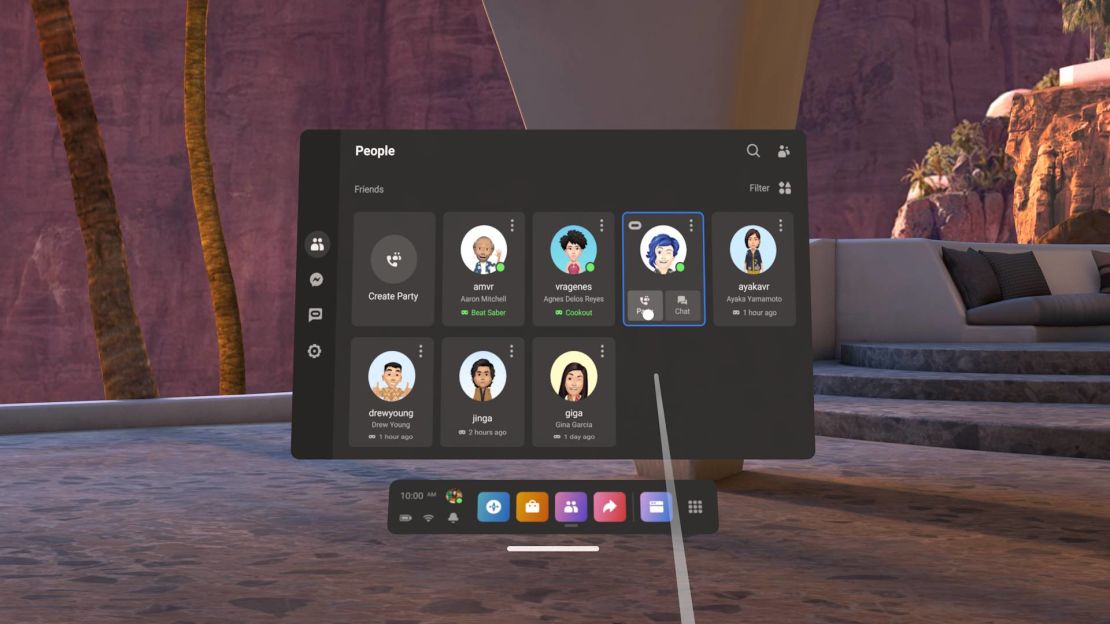
Once you’ve set up a Meta account (or signed up via your Facebook account, which is now optional), the Meta Quest 2 makes it pretty easy to add friends from both your Facebook contacts as well as any VR enthusiasts you meet in-game.
The quickest way to add friends is to open the Meta Quest mobile app, select Menu at the bottom of the screen select People. From there, you can search for your pals via username, or share your own profile on social media to help people find you. You can also open the People tab from the home screen of your Quest 2, where you’ll see your online friends as well as friend requests and suggestions based on your Facebook account and play history.
2. Create an avatar
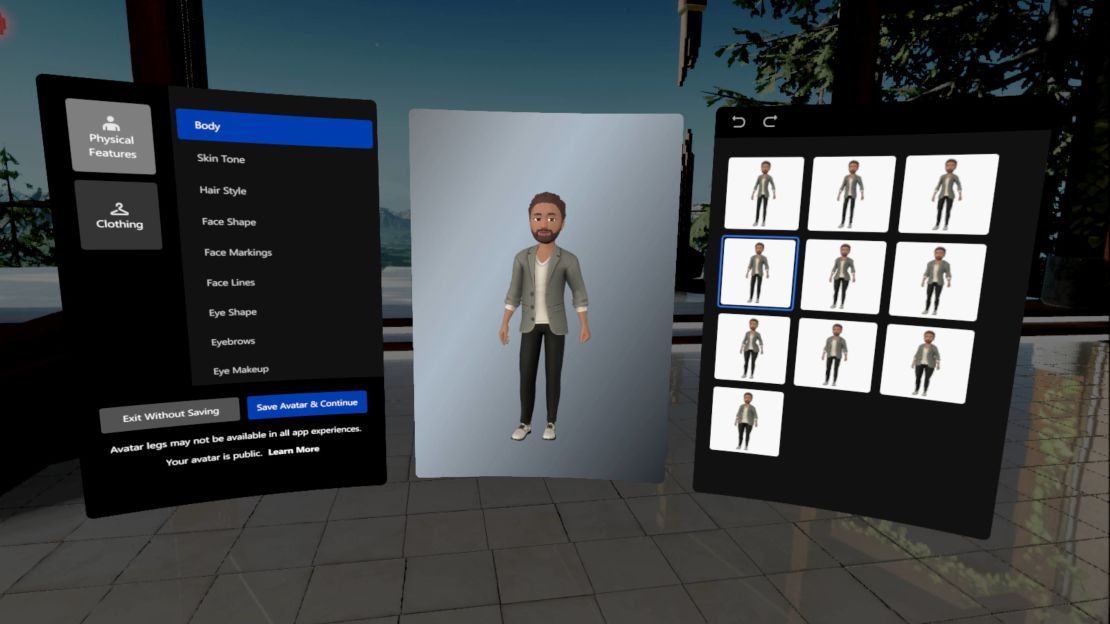
If you want a fun way to express yourself to your Meta friends, you can create an avatar. To do this, simply click on your profile icon at the bottom of the home screen and select “Create Avatar.” From here, you’ll have a variety of appearance and style options to play with, making it easy to ensure that you look your virtual best when your VR pals stumble across your profile. Your avatar will even show up in compatible games like PokerStars VR and Topgolf With Pro Putt, giving you a consistent virtual identity you can take across titles.
3. Quickly change settings
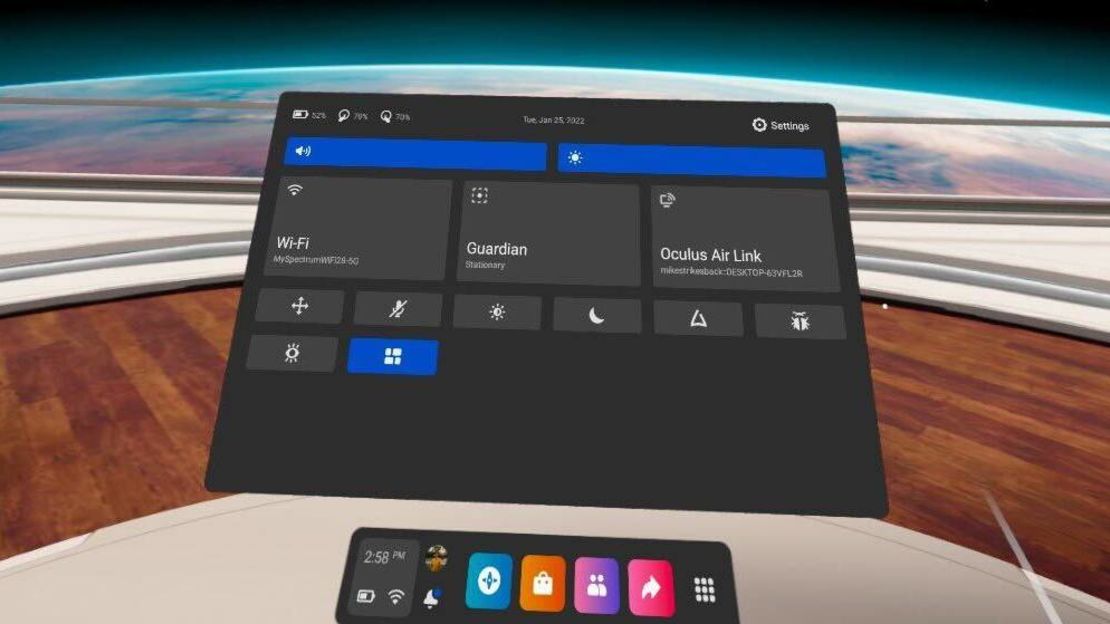
Just like your phone or PC, the Quest 2 makes it easy to quickly change settings on the fly. To access the Quick Settings menu, press the Oculus button on your right Touch controller and click on the area on the home bar that features the time and battery percentage. From here, you can easily do things like adjust brightness and volume, change Wi-Fi networks, mute your microphone and enable Air Link for connecting to a PC. And if you need to dig deeper, you can click the Settings icon at the top right to access things like home screen personalization and controller options.
4. Use voice commands
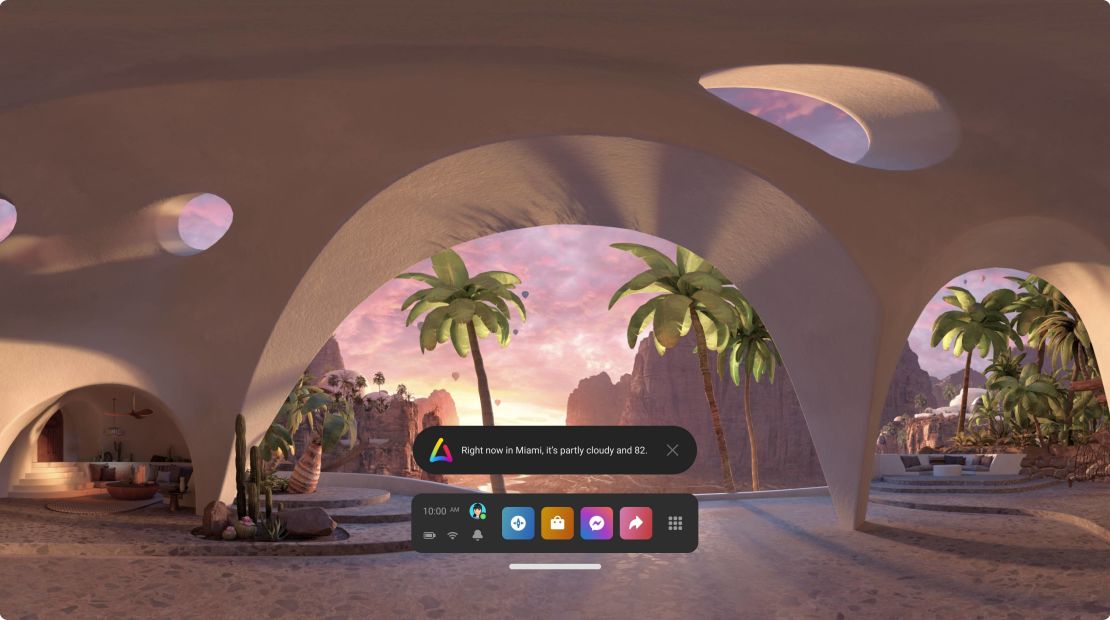
The Touch controllers work well enough for basic navigation, but you can get around your Quest 2 even faster using voice commands. To enable this, open the Quick Settings menu and select the triangular Voice Commands icon. Once you get through a quick setup process, you’ll be able to summon the voice assistant with a quick double tap of the Oculus button.
You can use voice commands to do things like launch apps, open the Oculus Store and check the time or weather, and they’ve worked pretty reliably in our testing. Note that you can also enable hands-free “Hey Facebook” voice commands in your headset’s Experimental menu — just keep in mind that it’s a beta feature that might not work as consistently as using your controller. If you’re worried about privacy, Meta notes that the headset isn’t listening when the mic or your headset is turned off, and you can decide whether or not your voice commands are stored.
5. Switch up your virtual surroundings

You’ll be spending a good amount of time in your virtual Meta Home environment, so picking a theme that feels cozy is key. To switch up your virtual surroundings, go to Quick Settings > Settings > Personalization.
From here, you can choose between a variety of immersive home environments, including a relaxing oasis, a cyberpunk city and, our personal favorite, a space station. If you’d rather see your real-life surroundings as your home screen, you can also turn on Passthrough Home from the Quick Settings menu.
6. Download apps and games from your phone (and try some free stuff)
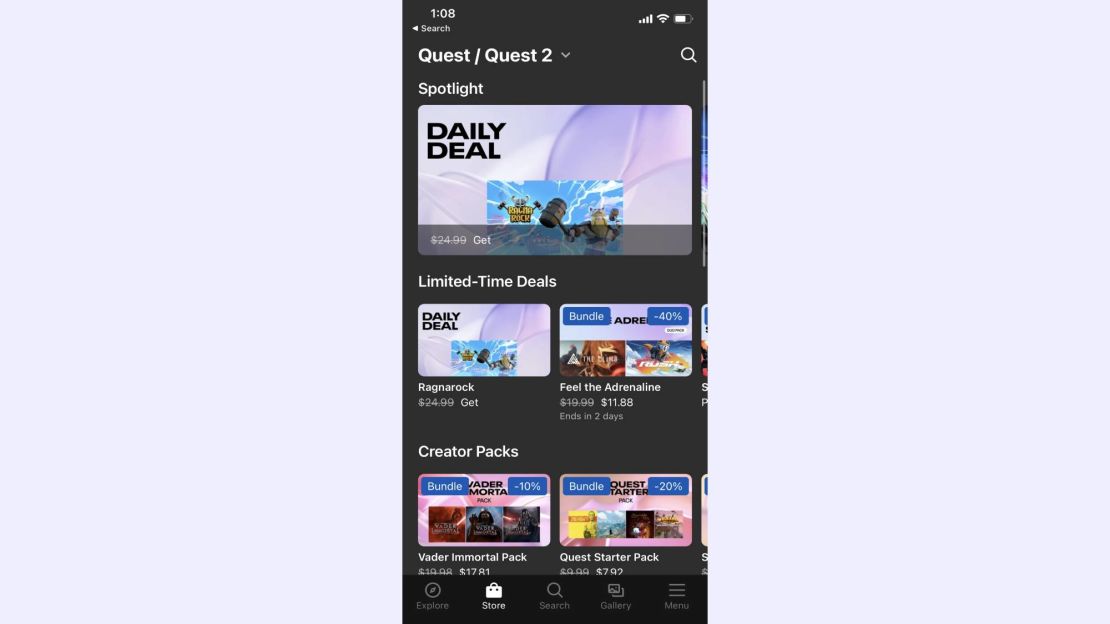
You don’t even need to be wearing your Quest 2 to shop for apps and games — all you need is your phone. Fire up the Meta Quest app for iOS or Android and open up the Store tab, and you’ll be able to purchase anything on the Oculus Store. It’ll even start automatically downloading to your Quest 2 so that you’ll be ready to play as soon as you get home from school or work. You can also do the same thing on Meta’s website.
And if you’re not ready to drop even more cash after buying a $400 headset, there’s plenty of free content available on the Store. To get to the free stuff, open the Store icon from the home screen of your Quest 2, go to the Filter By menu on the right, select Pricing and click “Free.” Or, if you’re on mobile, simply type “free” in the search bar when in the Store. The Quest 2’s selection of free stuff includes popular games like Echo VR, PokerStars VR and Gun Raiders, social experiences like Horizon Worlds and entertainment apps like Netflix and YouTube VR. You can also check out productivity tools like Spatial if you’re looking to do some work in the metaverse.
7. Get your mobile notifications in VR
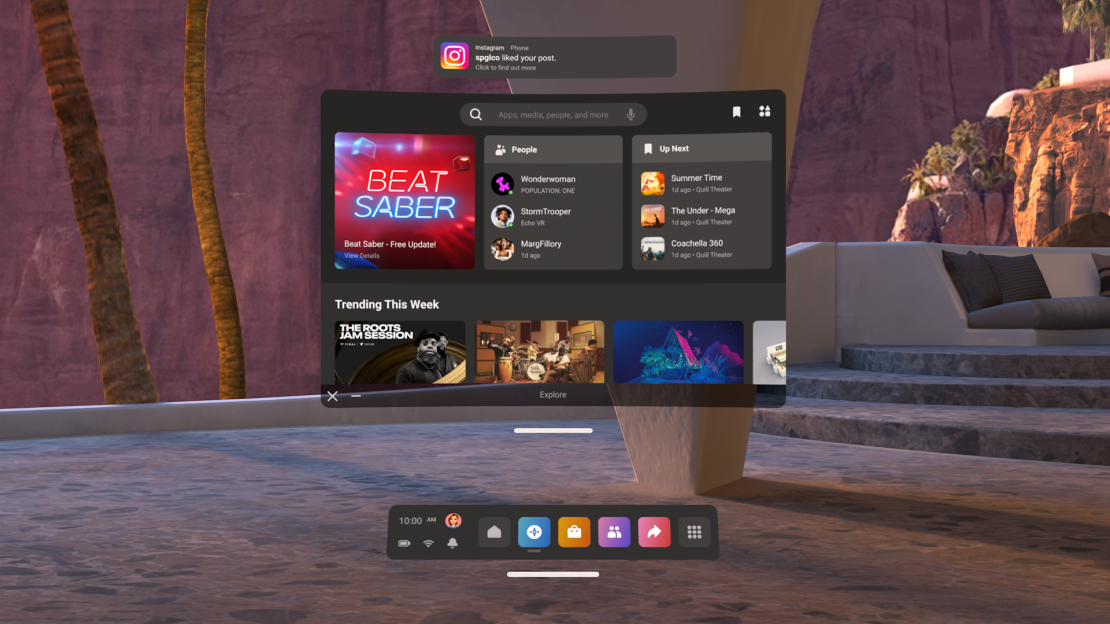
Don’t want to miss an important call or text while you’re deep in the metaverse? To enable phone notifications on your Quest 2, open the Meta Quest app and go to Menu > Devices > Phone notifications. From here, you’ll be prompted to perform a few quick steps to pair your phone to your headset. After that, you’ll see calls, texts and app notifications while you’re gaming, working out or just kicking back in VR.
Within the Meta Quest app, you can customize when you want to get text and call notifications (such as always, or only when you’re at the home screen). And once you start getting notifications for apps such as Discord and Instagram, you can customize how often you’d like them to appear.
8. Augment your headset with some accessories
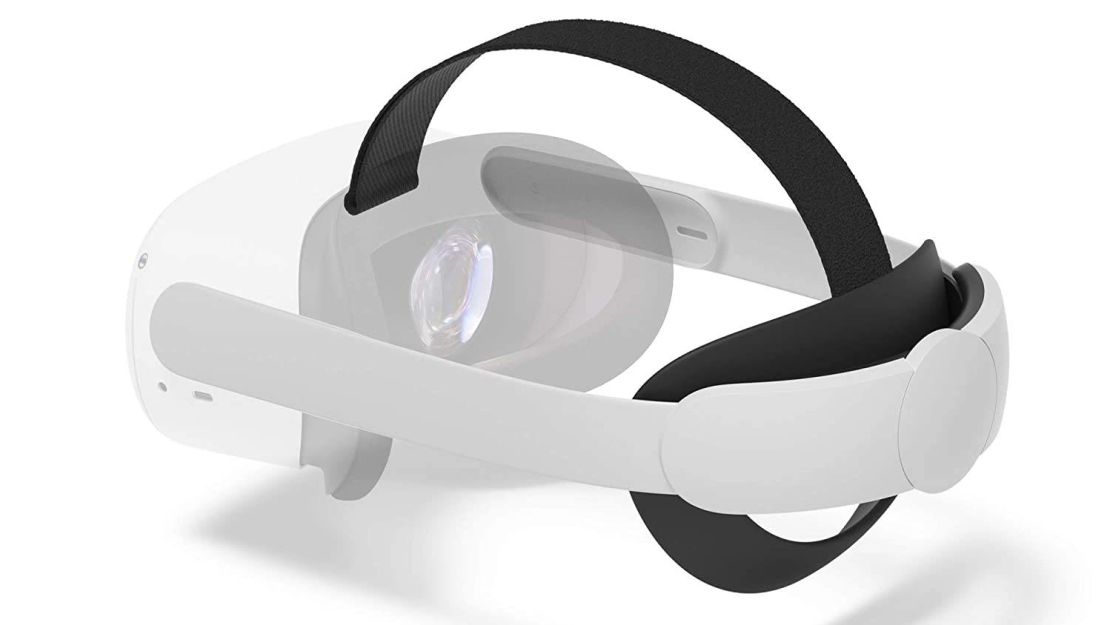
While the Quest 2 feels and performs great out of the box, there are a few accessories worth considering that’ll let you get even more out of your headset. Those who do a lot of working out will want to consider a face cover, such as this $29 Meta model or this cheap $13 VR Cover that comes in a range of colors. These covers are designed to be easy to clean and more sweat-resistant than the foam face cover that comes in the box, and in the case of third-party options like the VR Cover, will let you personalize your Quest 2 with fun colors.
Another popular accessory is the $120 Quest 2 Elite Strap with Battery, which is designed to provide a more stable, adjustable fit and packs a built-in battery that claims to double the battery life of Meta’ headset. We’ve yet to test the Elite Strap ourselves, but it’s worth taking a look at if you’d like your Quest 2 to last longer.
9. Use Passthrough to watch your surroundings
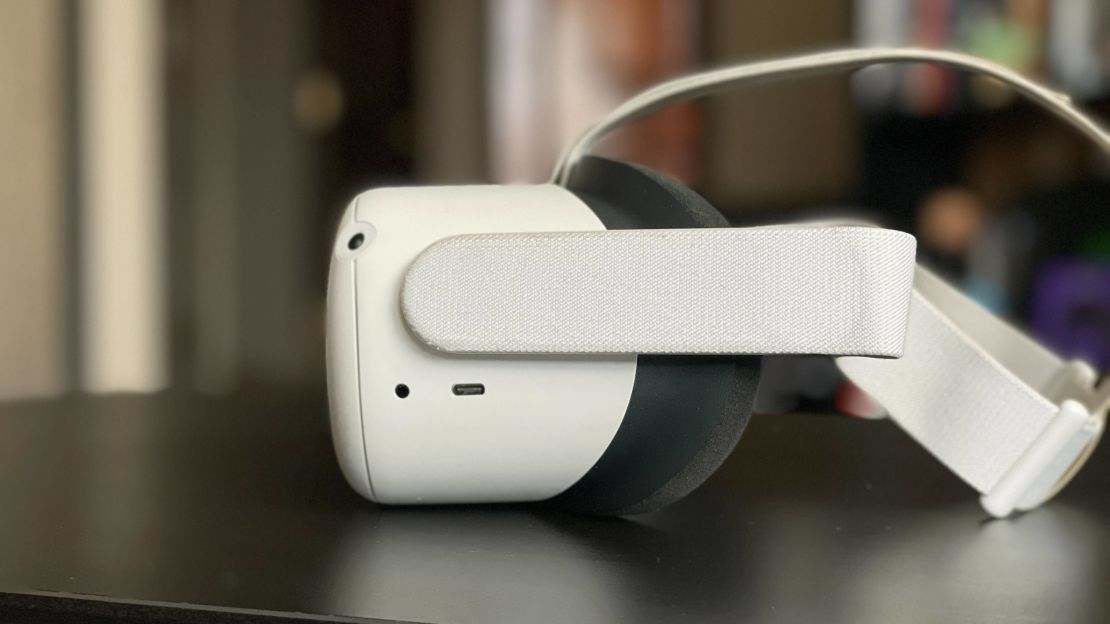
The Quest 2 has a handy Passthrough feature that lets you see the real world via the headset’s cameras whenever you step out of the virtual play area you’ve set up. But you can also check your surroundings at any time with a quick double tap on either side of your headset.
To enable this, go to Quick Settings > Settings > Guardian and turn on Double Tap for Passthrough. Now you’ll have an easy way to check on any pets, kids or objects that might be nearby without having to take your headset off or break up your flow while you’re lost in a great game.
10. Track your fitness with the Move app
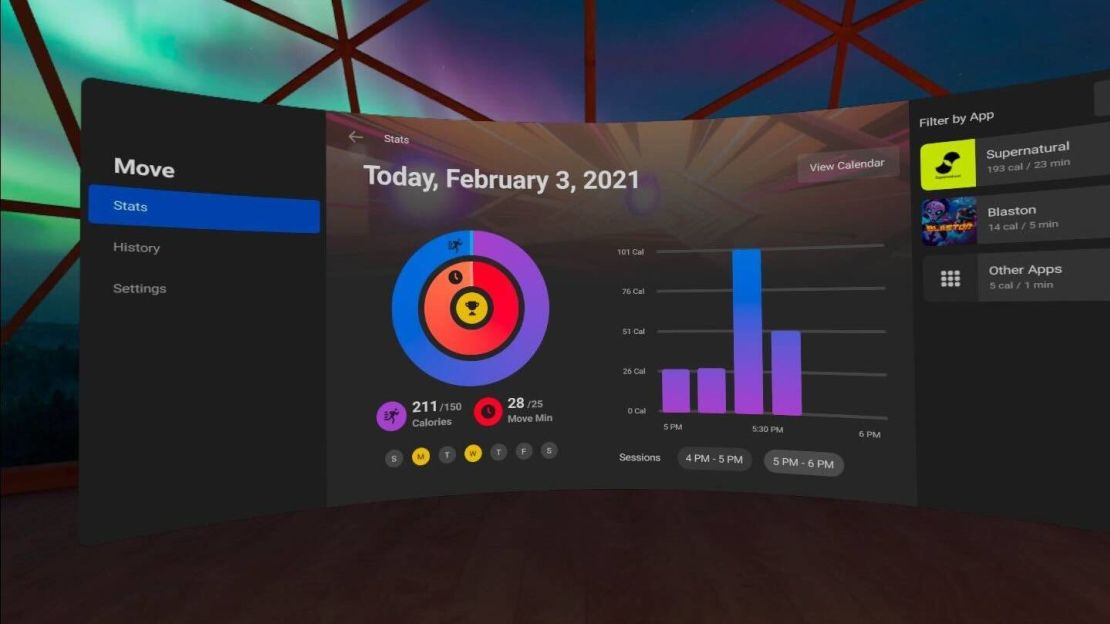
If you’re using your Quest 2 to work out in apps like Supernatural, FitXR and Beat Saber, you can use the built-in Move app to track your fitness progress across all of them. Move is installed on your Quest 2 by default, so all you need to do is select the grid-like Apps icon from your home screen in order to find it.
From there, you can enter vital information such as your height and weight as well as set daily goals for workout time and calories burned. Move will automatically track your progress no matter what you’re playing — simply look up mid-workout and you’ll see the tracker near the top of your app of choice (you can also reposition the tracker in the Move app).
Thanks to a recent software update, you can keep tabs on your Quest 2 fitness stats right from your phone by firing up the Meta Quest mobile app and selecting Menu > Move. Better yet, iPhone users can even link their Move data to the Apple Health app, ensuring that those sweaty Beat Saber sessions count toward your overall activity goals.
11. Take screenshots and cast to your TV
Want to show off that awesome Beat Saber high score or a sick Superhot sequence you put together? There are a few easy ways to share what you’re up to on your Quest 2.
If you want to take a screenshot, the easiest way is to simply hold the Oculus button on the right Touch controller and squeeze either of the two triggers. When you have a game or app open, you can also press the Oculus button to bring up a handful of sharing options, including Take Photo, Record Video or Cast. And if you just want to capture some content while navigating menus, you can select the pink Sharing icon at the bottom of the home screen for the same three options. Pro tip: If you go to the Files app, you can turn on media syncing so that you can easily view your photos and clips from the Meta Quest app on your phone.
You’ll have to manually start and stop video capture, and have the option of recording your mic if you want people to hear you freaking out over your VR horror adventures. Casting will display your gameplay on a nearby Google Cast-compatible screen (such as most TVs or anything connected to a Google Chromecast), which is a great way to show nearby friends and family members what you’re actually doing while flailing around in VR.
12. Connect a controller, mouse or keyboard
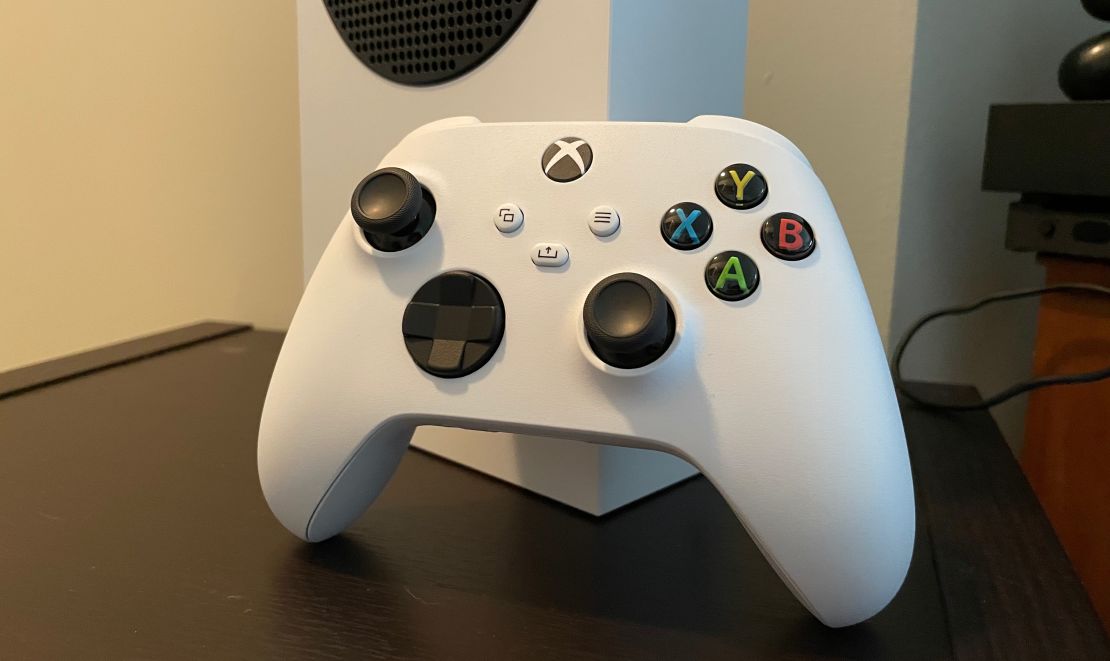
The Quest 2’s included Touch controllers work great for playing games and navigating apps, but you can also sync up other Bluetooth peripherals, including traditional gamepads and even wireless mice and keyboards.
To connect a Bluetooth accessory, go to Quick Settings > Settings > Experimental and choose Bluetooth pairing. From here, put your peripheral of choice in pairing mode and select it from the Available Devices menu. Just keep in mind that because this is one of Meta’s in-progress features, you might not have the most rock-solid experience with external accessories.
Wireless gamepads (such as the Xbox Wireless Controller or Sony DualSense) won’t work with every game on the Store, but they’re ideal for console-style titles like Chronos and Tetris Effect: Connected. If you’re unsure whether a game will work with your controller or not, just look for “Supports Gamepad” in its Oculus Store listing.
Using a mouse and keyboard on Quest 2 is ideal for browsing the web, navigating the Store or using productivity apps. While it took a bit of trial and error to get things working, we were eventually able to get our Logitech Pop Keys keyboard and Logitech Pop Mouse running smoothly on Quest 2. We even used them to write part of this article from the headset, thanks to Meta’s preinstalled web browser.
13. Unlock even more hidden features

While you’re over in that Experimental menu, there are a bunch of other hidden features worth trying out. These include a 120Hz refresh rate mode for smoother navigation and gameplay, voice commands, the ability to switch between light and dark themes and an Air Link feature that lets you connect to a PC without any cables.
Just a heads up: Meta notes that these features are still in progress and may impact performance and battery life of the headset when in use.
14. Try out hand tracking
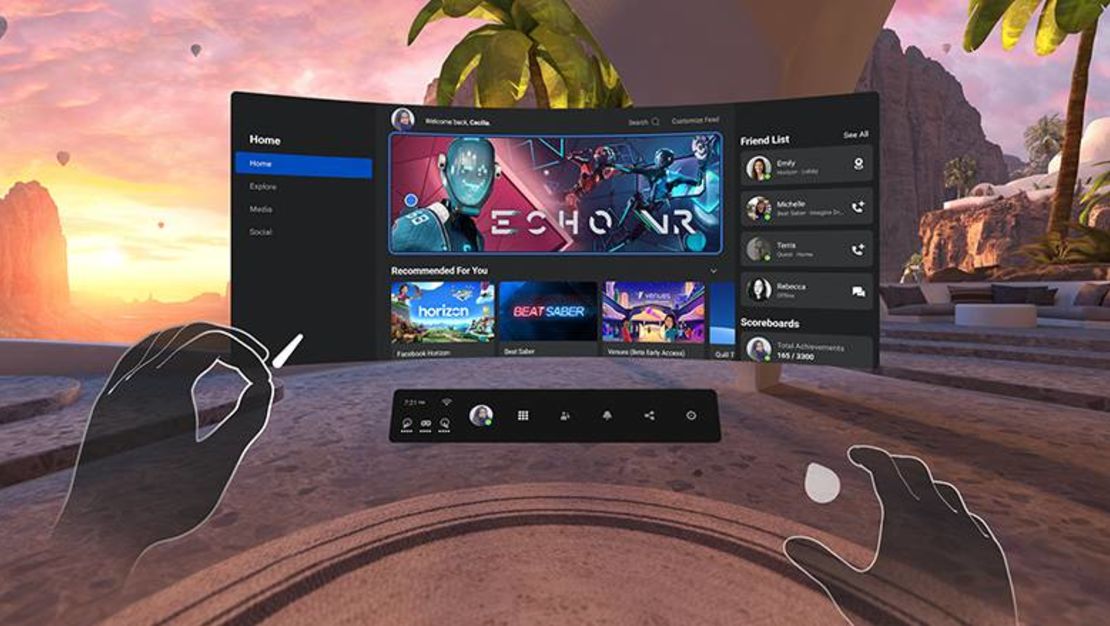
Don’t feel like fumbling with the Touch controllers when you just want to browse the Store or watch some Netflix in VR? Fortunately, you can navigate your Quest 2 with just your hands. To enable this, go to Quick Settings > Settings > Hands and Controllers and enable Hand Tracking.
Once Hand Tracking is set up, you can navigate the Quest 2 interface with natural hand motions, and can click on icons with a quick pinch. To access the Oculus and Menu buttons, just open up your left or right hand respectively and face it upward. We personally find Meta’s Hand Tracking controls to be a little finicky, but they get the job done if you just want to do some browsing or fire up a movie without reaching for your controllers.
15. Connect your Quest 2 to your PC for even more games
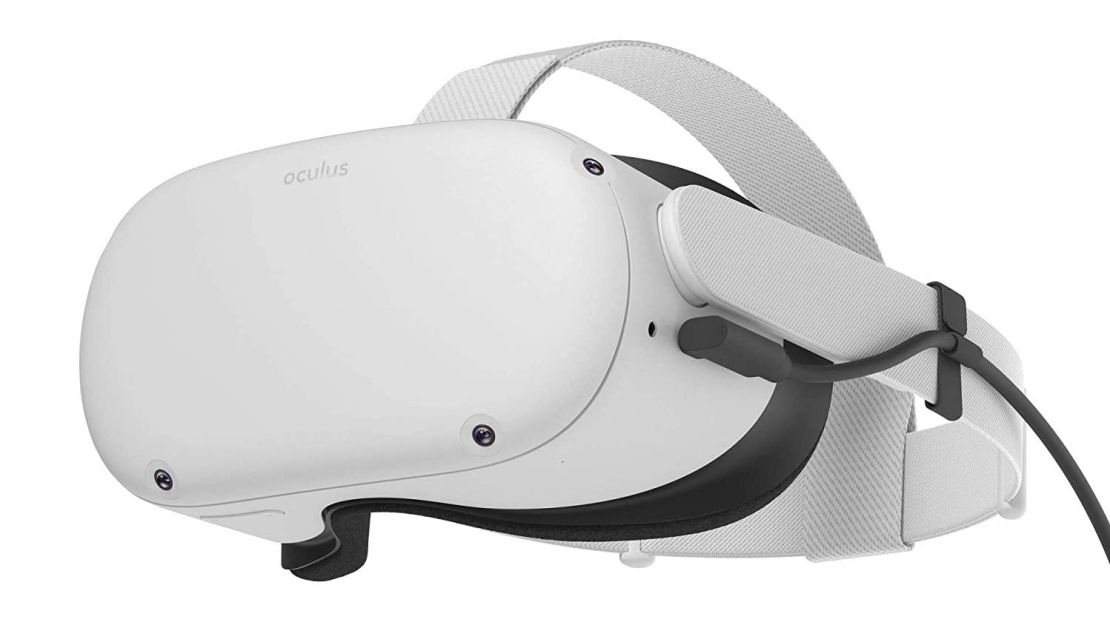
The Quest 2 plays plenty of great games on its own, but if you have a powerful enough gaming PC, you can connect it to your computer to unlock even higher-end VR experiences.
There are a few ways to do this — if you want to take the wired approach, you can buy Meta’s own $80 Link Cable, or go with a third-party USB-C cable. Meta notes that you’ll want a “high-quality USB cable capable of supporting data and power” that’s ideally around 10 feet long for easy setup and comfort, and also mentions that Anker cables will work well. If you want something cheaper than the Link Cable, the $17 Anker Powerline+ is much more affordable and our pick for the best USB-C cable overall.
You can also connect to a PC via Air Link, which you’ll have to enable in your headset’s Experimental menu and then access via Quick Settings once it’s turned on. This method doesn’t require you to buy anything extra, but because it’s an early access feature (and wireless), it may be subject to some performance hiccups.
No matter how you use Oculus Link, you’ll set up everything via the Oculus app for your PC. Note that you’ll need a decently powerful rig — you can find the full requirements here, but the key specs include an Intel Core i5 / AMD Ryzen 5 processor or better and a Nvidia GTX 970/AMD 400 series graphics card or better.
Once you’re all set up, you’ll be taken to the Oculus PC menu on your Quest 2, where you can do things like browse the full Oculus Store and even navigate your Windows desktop from your headset. You can also use your Quest 2 with VR PC games outside of the Oculus marketplace, including Half-Life: Alyx and Star Wars: Squadrons.
16. Multitask between apps
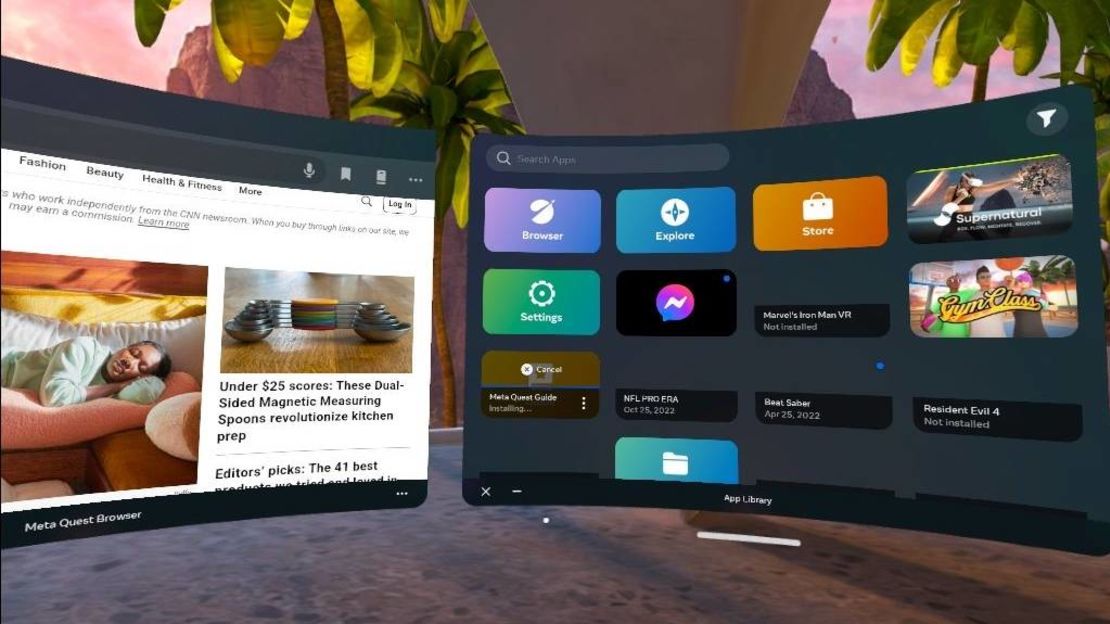
Thanks to a recent update, you can now multitask between two basic 2D apps at once — something ideal for, say, browsing the app store while looking up reviews on a web browser at the same time. To do this, simply drag whatever app you have open (via the black bar at the bottom) to either the left or right side of the screen, which will create an additional window for whatever you open up next.
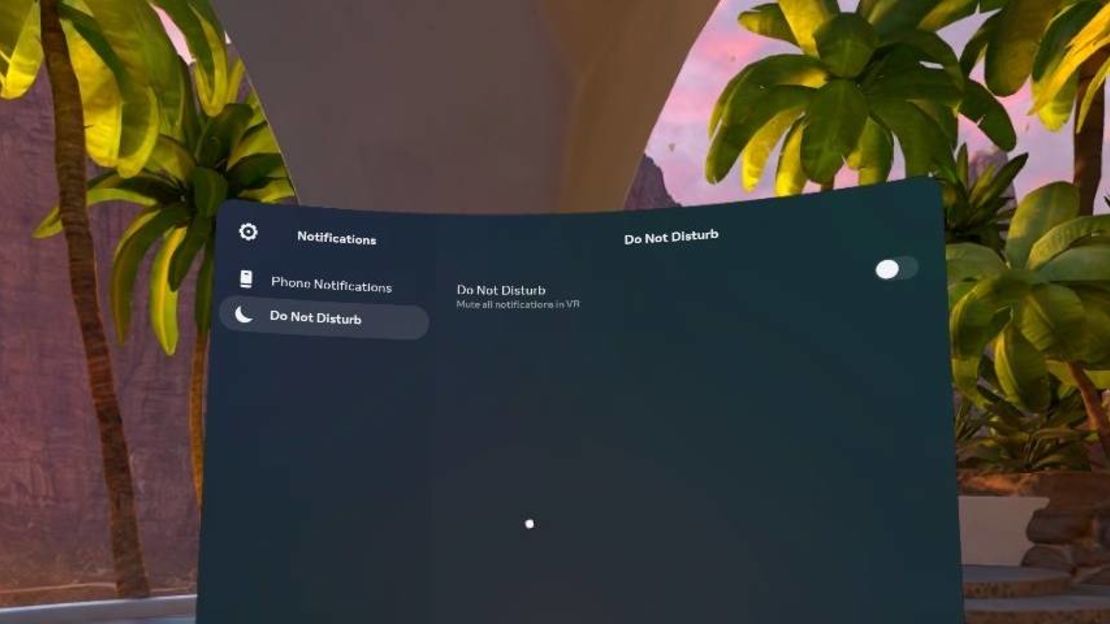
17. Use Do Not Disturb for extra immersion
Virtual reality is one of the most immersive ways to stay entertained, but the Quest 2 still delivers a good amount of notifications that can take you out of the experience. Fortunately, a recently added Do Not Disturb mode will silence most alerts (save for critical things such as a low battery warning or a party invite) so you can stay as engrossed as possible. To turn it on, simply go to Settings > Notifications > Do Not Disturb.
