Once upon a time, sewing and mending clothes was commonplace —?more a given than a unique hobby. At some point in the last few decades, though, it became something of a lost art. Why have people stopped mending their clothing? Schools stopped offering home economics classes, technology boomed and fast fashion became increasingly popular — a fact for which we’re now paying dearly, from both an environmental and a human rights perspective. Our culture of extreme consumerism means countless people think nothing of buying fast fashion “hauls” and even less of discarding clothes at the first sign of damage. “All of a sudden, it’s more inconvenient to fix something than it is to buy something new,” says Elysha Schuhbauer, an artist, mender and one half of Worth Mending in Ontario, Canada. “We’re in a kind of weird, upside-down moment.”
But all hope is not lost. In the past few years, it seems there’s been growing interest in slow fashion — not only?thrifting, but also sewing and mending. On one of the most pleasant corners of the internet, you’ll find a treasure trove of videos showcasing everything from visible mending to “thrift flips” and beginner sewing journeys. “Mending is such a basic human skill,” Schuhbauer says. It’s certainly one worth learning.
Why should you learn to mend?

Shopping secondhand is a great step in creating a more sustainable closet, but as any eco expert will tell you, the best thing you can do is buy less to begin with. That means shopping for quality items (made sustainably and ethically) that will stand the test of time, but also learning a few key skills so you can repair those items as needed rather than discarding them and condemning them to life in an already-overflowing landfill. “Mending is a great way to reject consumerism,” says Lily Fulop, the author of “Wear, Repair, Repurpose: A Maker’s Guide to Mending and Upcycling Clothes.”
“Getting into mending is a great mindset shift that will hopefully help you look at all your possessions through a lens of repair and reuse, whether you do it yourself or not,” Fulop says.
With that shift, not only will you be less inclined to give up on your damaged or stained items, but you may also find yourself upcycling or reviving pieces you no longer love into ones you do, and considering potential secondhand purchases differently. “It’s always really helpful to be able to customize thrifted items —?[for example], because [they] might not be exactly the right size, or the style might be a little out of date or [they] might have some holes or stains,” Fulop says.
Once you pick up the skills, the benefit can also take you beyond your clothes. For example, Angela Sison, a sewing and mending educator and the designer behind Conrado, a brand that creates clothing from upcycled deadstock fabric, says you can fairly easily reattach bag handles or repair worn straps, hem curtains and patch up pillowcases.
And, Fulop says, “you can use some mending techniques to repair furniture, [like] patching a hole in a couch.”
Beyond the functional benefits, “it feels good to sew with your hands, and [it] is a great way to reduce anxiety and feel productive,” Fulop says.
“I love doing things with my hands,” Schuhbauer says. “That kind of creative work helps to ground me in something that is tangible —?building a deeper relationship with my stuff through adding my own touch to it. Caring for my garments is a thing I do to care for myself.”
Can beginners mend?

Perhaps the biggest misconception about mending and sewing is that it’s only for advanced, skilled makers. The reality is, “it’s something you can learn in a few hours and just keep practicing,” Fulop says, pointing out that she’s made TikTok videos that explain certain stitches in less than a minute. “It’s a skill that’s a matter of practice, not innate talent.”
Plus, as Schuhbauer points out, “the stakes are so low” in mending. “Whatever we’re mending, we had already to some degree started to write off,” they say. “We were going to get rid of it, so if we don’t like how the mend turns out, we can learn from that and try again next time.”
You don’t need much, either. “As a beginner, you can get a lot fixed with really, really basic skills and really basic equipment,” Schuhbauer says. “You can mend a lot with just a needle and thread, a pair of scissors to cut the thread and some fabric. You don’t even necessarily have to go out of your way to buy it; it can be a similar garment.”
How to mend your clothes
Change your mindset and start with observation
How do you patch clothes for beginners? While the skills may be pretty easy to pick up, “the mindset [is] probably the trickiest thing to learn,” Schuhbauer says. “The mindset [of], ‘Oh, I could fix that rather than throwing it out,’ is something that took me a lot longer to learn.”
The mending process actually starts before you pick up a needle and thread. “Beyond the basic skills of the stitches and how to sew fabric back together, it’s a really big skill to be aware of what way a garment has broken in order to fix it in a way that is the strongest,” Schuhbauer says. They break it down by separating items into three potential categories: “It could be just a snag [or] a random rip; that’s different from how you would mend a spot that’s worn thin by abrasion —?like the inner thigh [of jeans] or the bottom of a sock — versus a popped seam. It’s [about] noticing, ‘Okay, what happened here? Oh, I got that caught on a nail, or the stitching on the seam is worn out.’”
Focus on basic skills and stitches at first
It’s easy to get overwhelmed by the idea of learning to mend; the key, Sison says, is to avoid overthinking it. “Focus on the actual thing [you] have to repair,” she says, noting that you can usually quickly find a video tutorial online to follow along.
“Like most crafts, there are more beginner-friendly methods and more advanced ones,” Fulop says. “Beginners can learn the basic hand stitches and be able to do quite a bit, especially patching. Darning is a little more complicated, for example, and then there are really fancy decorative stitches you can learn.”
Any mender will tell you there are certain repairs and skills that tend to pop up repeatedly.
Patching

You’ve likely had a pair of jeans or other pants that wore thin in the knees or upper thighs; all they need to be back in action is a patch. In fact, you don’t even have to wait until an actual hole appears. When you notice the fabric visibly wearing thin, Schuhbrauer suggests using a patch and making sure it’s bigger than the worn-out area. “You always want to make sure any stitches you’re making are being anchored into fabric that is still strong and intact,” they say. Plus, they note, “patching bigger than the area that’s currently worn out is going to save you further down the line.”
Patches also come in handy for holes that result from snags or the like. “Little pinholes in T-shirts happen quite frequently,” Schuhbrauer says. For these, they recommend placing a patch (ideally of the same or similar fabric) over or under the hole and stitching it in place.
As for whether to put the patch on the inside or outside of the garment, Schuhbrauer says it’s largely personal preference. “If I’m doing a pair of jeans, and I put a patch on the outside, it’s going to be the outside layer again that wears through, so [the patch] is protecting the fabric underneath it,” they add. Then again, “It depends on how I want it to look. I usually go for the inside [when patching the jeans’ crotch area] because it blends in a little more seamlessly.”
Darning

“Darning is actually more related to weaving or knitting than sewing,” Fulop says, describing the technique for fixing holes in fabric by interweaving rows of thread. It’s most frequently used for socks, but you can also darn sweaters and other woven pieces.
You can darn with thread the same color as your garment, or have fun with it and use more conspicuous colors. “I love how artful they turn out,” Schuhbrauer says. Regardless, they stress the same “mend ‘bigger than the wear’” advice that they gave for patching.
Sewing popped seams
“If you can see that the thread has broken where it was [originally] sewn,” you fix it pretty quickly (particularly if you’re using a sewing machine, but it’s also doable with hand-stitching) by just sewing right in line with the rest of the seam, Schuhbrauer says. Just remember to sew a bit on either side of the broken area (so, doubling up on the existing seam) to ensure your repair is strong.
Attaching buttons
“Learning how to put a button on is one of the easiest things to do,” Sison says. Certain sewing machines have settings (with instructions) specifically for creating buttonholes and attaching the buttons to fabric, though Sison says she typically does so by hand.
Covering stains
Mending, of course, typically refers to fixing things that are broken. But in this case, it can also extend to covering stains on your clothing. How often have you tossed a beloved shirt because of one small-but-stubborn blemish? “If something is stained and doesn’t require a structural repair, you can ‘mend’ it by painting over it,” Fulop says. You can cover stains with creative stitching or fun patches. Look at it as an opportunity to add new personality to the piece.
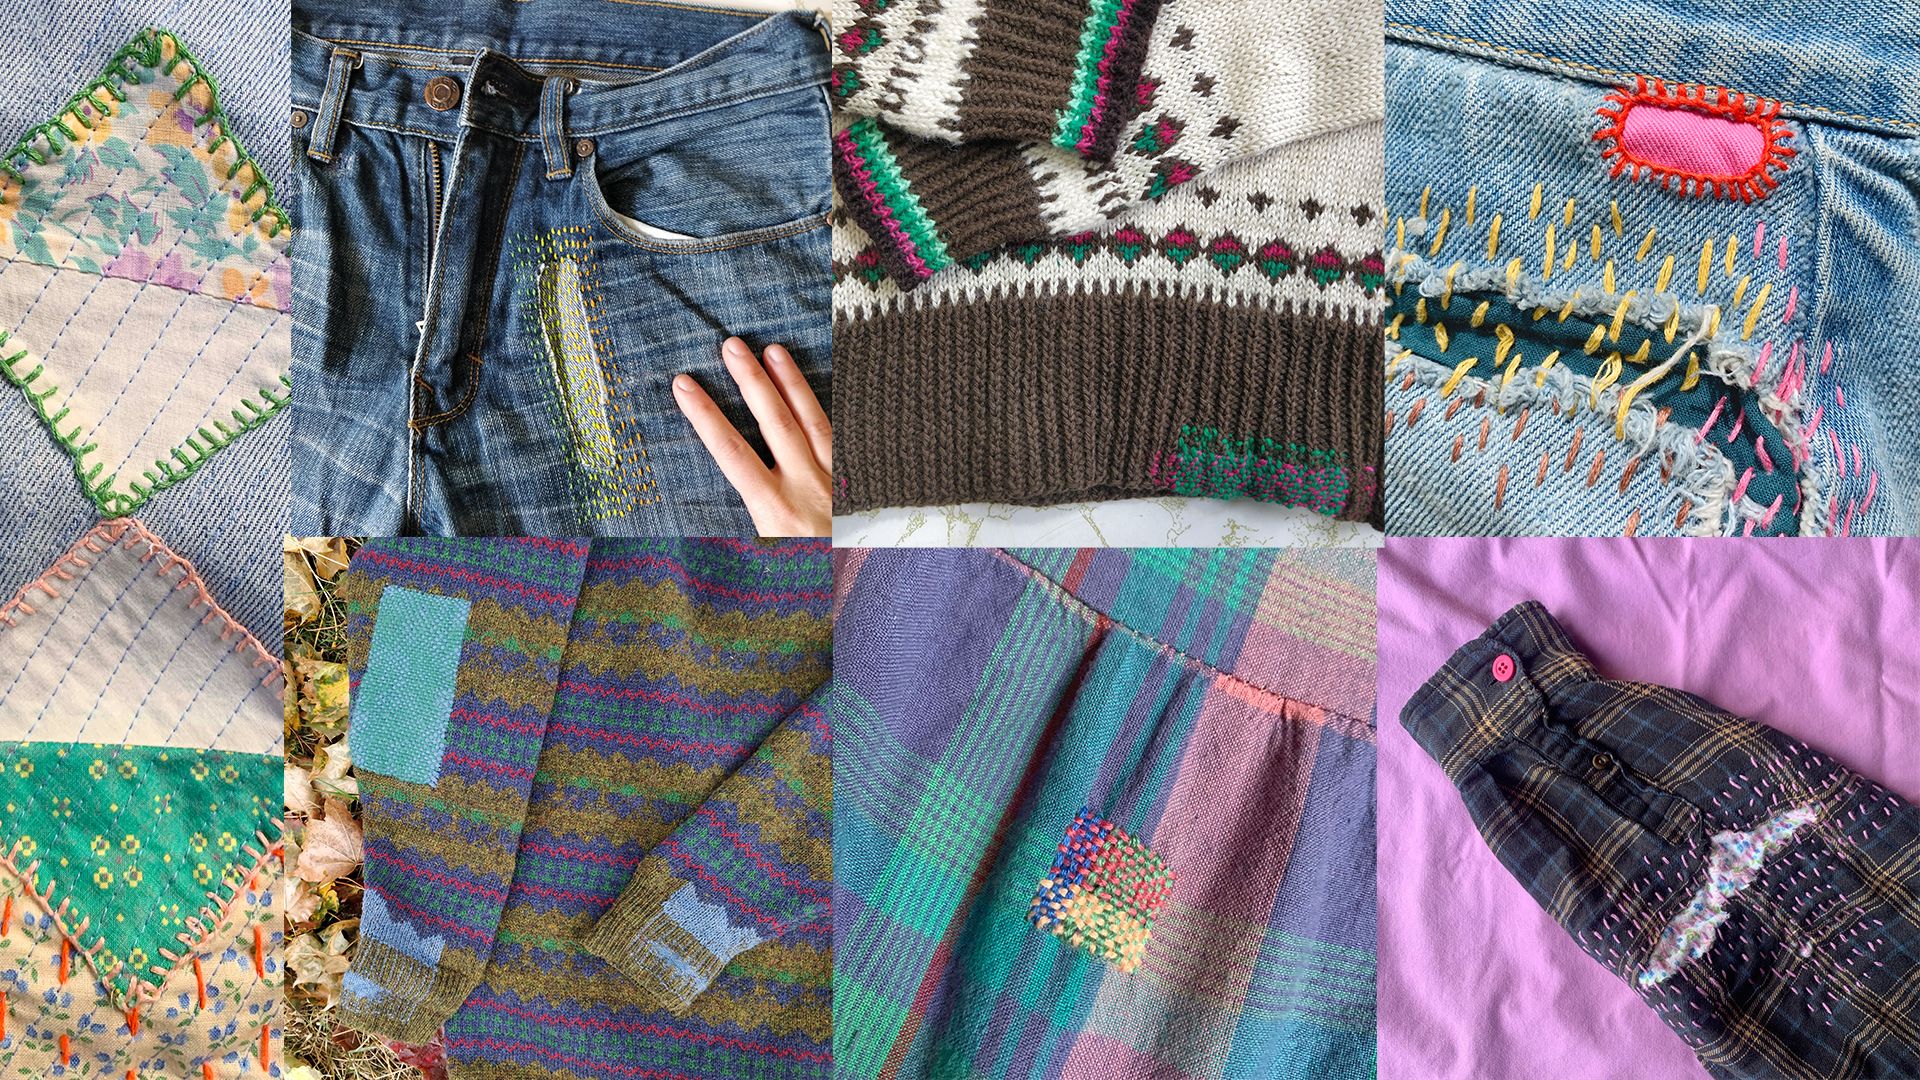
Visible mending

In fact, you can adopt the same mindset for actual repairs as well. “Your mending doesn’t have to be invisible,” Schuhbrauer says. “I am a huge advocate for visible mending and using mending and stitching as a way to add to the story and the relationship we have with our garments, and making it artful. We can get caught up in the perfectionism of it, but I think mending is a really lovely way to work on letting go of some of that misconception that it needs to be perfectly invisible so that it never happened.”
As for the actual sewing, Fulop recommends starting with hand stitches, particularly the running stitch, back stitch and whip stitch. “The running stitch and whip stitch are both great for patching. The whip stitch can repair frayed cuffs, [and] the back stitch is the closest thing to replicating a machine stitch, so you can use it to fix seams or do alterations.”
In fact, even if you just start with one, you can manage quite a few repairs.“The basic running stitch can do a lot,” Sison says. “It’s basically just putting two pieces of fabric together and running the needle up and down the fabrics to keep [them] together.”
Think beyond the sewing machine

Sewing machines are fantastic; they can handle all sorts of fabrics, stitches and tasks easily and efficiently. But not all sewing —?and certainly not all mending —?actually requires a sewing machine. Those basic stitches mentioned above can all be done by hand —?in fact, a whip stitch is specifically a hand stitch. If you don’t want to buy a sewing machine, can’t currently afford one or simply prefer mending by hand, you can still achieve almost all repairs (and if needed, get the help of a professional or a shared sewing machine — as can be found at some local libraries, for example — to do the rest).
“I purposely teach hand-sewing because it’s easier,” Sison says. “But when there’s a zipper repair or a big skirt that [you] want to hem, that’s definitely something a machine would be helpful for, because it would be faster and more accurate in the way you’re sewing straight lines. They’re going to be really long lines that you’ll be sewing, and it would take forever [by hand]. A sewing machine will definitely cut down the time.”
You can even get away with lots of repairs and mending without any sort of stitching, which can be particularly helpful if you struggle with fine motor skills or manual dexterity. “There are no-sew products that can be helpful, like iron-on patches or hemming tape,” Fulop says.
Don’t be afraid to ask for help

There are countless resources out there that can help you on your mending journey, from books to Instagram accounts and TikTok videos. But you can also go deeper, get more specialized advice and interact with others by joining virtual or in-person workshops and courses. Simply search the type of course you’d like to take (such as darning, visible mending or beginner sewing) in your area and you’re likely to find plenty of options.
Ultimately, though, you may decide mending isn’t for you —?whether you’re struggling to get the hang of certain repairs, aren’t able to devote the time or simply don’t enjoy it. That doesn’t mean your only option is to trash your damaged clothes, though. “There’s no shame in getting help on your mending,” Schuhbrauer says. They suggest you can take clothes to a tailor or mending professional, or look to community groups like your local Buy Nothing Project chapter. “People who don’t mend or sew professionally might be open to doing those sorts of skill [shares],” they say. You might even be able to find a Repair Cafe or similar local organizations, increasingly more of which, Schubrauer says, are popping up around the world.
What do I need to mend clothes?
You don’t need an extensive kit to begin your mending journey. “When picking up a new hobby, I totally fall into it too, where you want to buy everything,” Schuhbrauer says. “But getting started, you can get a long way with some good quality thread and some needles, some snips and embroidery floss,” Schuhbrauer says.
Much of these mending products can be found secondhand —?“Look for reused materials to up your sustainability game,” Fulop says. “Does your city have a Creative Reuse store, [which is] basically a thrift store for craft supplies? Regular thrift stores often have supplies, too. You might have a relative with a great stash they’re not using. Ask around!” Here’s what to look for on your search.

Depending on what exactly you’re mending, you’ll need “sewing needles of a few different sizes — smaller ones for regular thread, bigger ones for embroidery floss and bigger for yarn,” Fulop says.?
Schuhbrauer explains that if you’re working with a lightweight or fine fabric, “you want to go with the smallest needle that you can get away with; that way, you’re doing less damage to the fabric as you’re putting the needle through.” As for the sharpness, they say you’ll generally want a pointy needle for a woven fabric, but can get away with a duller needle for knits (like with darning). This basic set from Dritz includes pretty much all of those options, making it a great place to start.

Straight pins are used for everything from pinning fabric scraps together to marking potential alterations and anchoring patterns to fabric. (If you have safety pins already lying around, Fulop notes those work, too.) Sison likes these silk pins (meant for pinning silk, not made of silk) “because they are thin and light,” she says. “I can easily sew over them while they hold the fabric together.”

When you’re putting two fabric pieces together or attaching a patch, you’ll need to use pins (either straight pins or safety pins). But if you’re working on a hem (for example, if the bottom of your shirt has a stain and you’re cropping the entire thing), you can use these clips instead. I prefer to do so; they’re easy to use, have built-in measurement markings, are flat enough to go under my sewing machine’s presser foot and carry no risk of pinpricks.

You don’t have to buy tons of colors to begin with, especially if you’re not planning on visible mending. “Most of the time when you’re mending, the thread color is actually hidden inside the clothing,” Sison says. She suggests starting with neutrals and perhaps a couple of colors commonly found in your clothes. This individually sold organic cotton option is “strong [and] reliable,” she says, and it’s “all-purpose so I can use it for a variety of projects.”

If you do want a solid selection of colors to start, this pack of 26 thread spools is a great option. As Schuhbrauer notes, Guterman is one of the most reliable brands out there, so you can trust the quality of these will be top-notch.

Let’s face it: Even if you have 20/20 vision, threading a needle can be tricky business. Needle threaders are a huge help; while there are various types, threaders, ones that use a very thin piece of wire — like this one —?are the most common, Schubrauer says. This hummingbird is small enough to take on the go, with a protective cap so the wire doesn’t get damaged.

You can use embroidery floss, which is a six-strand thread, for pretty much all of your visible mending and darning. In most cases, you actually separate the strands and only use one or two at a time, so a single pack can last you quite a while. If you’re very particular about colors or don’t want to start with this many, you can buy individual skeins instead. Regardless, Fulop strongly recommends the DMC brand. “It’s the best out there,” Fulop says. “If you buy generic floss from Amazon it’ll be more likely to break, tangle and fray.”
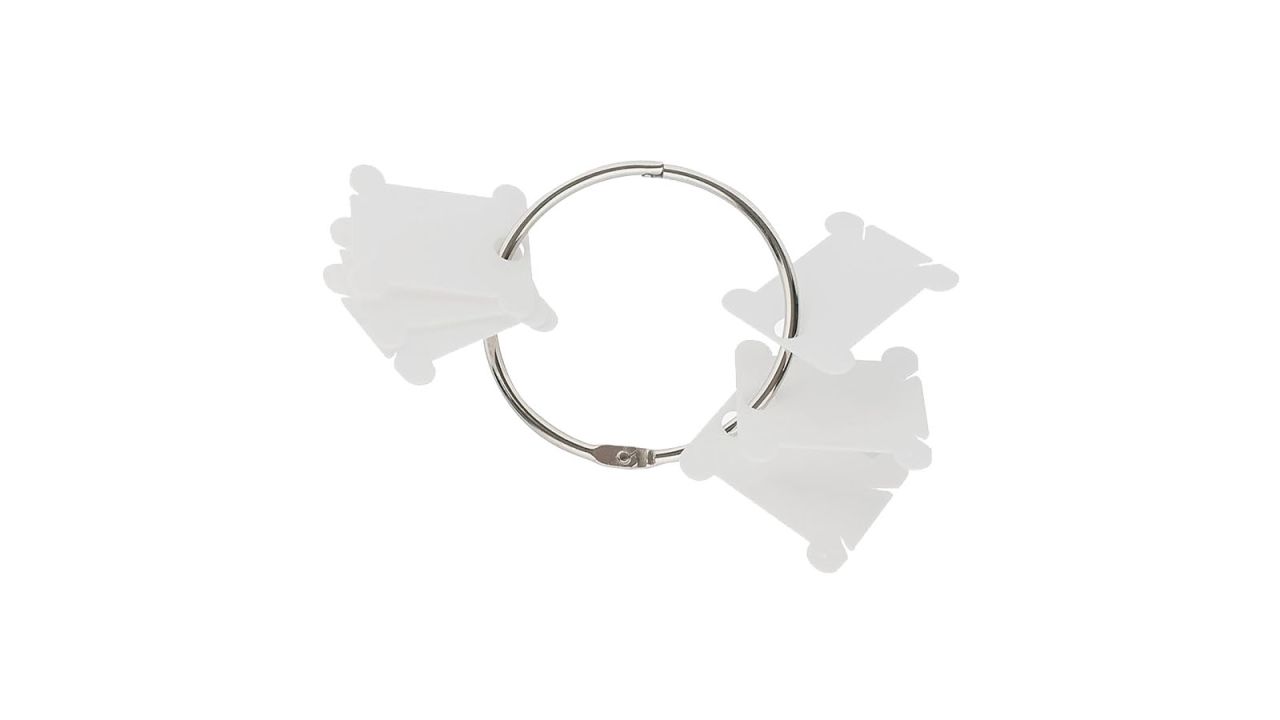
Once you start unraveling an embroidery floss skein, it can become a bit difficult to keep neat and organized. Wind your remaining floss around these bobbins, keep them all on the included ring and you’ll be good to go.

You’ll want thread snips on hand to cut your thread from the skein or machine as you sew and clean up loose ends or fraying fabric. “I've owned a pair of thread snips like these for years,” Sison says. “They [remain] sharp and finish off my projects neatly.”

If you’re planning to embark on a sewing journey that will take you beyond mending to creating your own pieces from scratch (or other types of advanced sewing), it may be a good idea to invest in a do-it-all machine. But if you’re looking for a user-friendly option to satisfy your mending (and simple sewing) needs, this machine from Brother is pretty perfect. It includes settings for 10 different stitches that you can use on various fabrics for decorative and invisible mending, as well as presser feet (easily interchangeable attachments that hold the fabric as you sew) for not only general sewing but also button and buttonhole sewing and attaching zippers. I love how easy this machine was to set up and get started on, and the compact size is perfect if your workspace is on the smaller end.
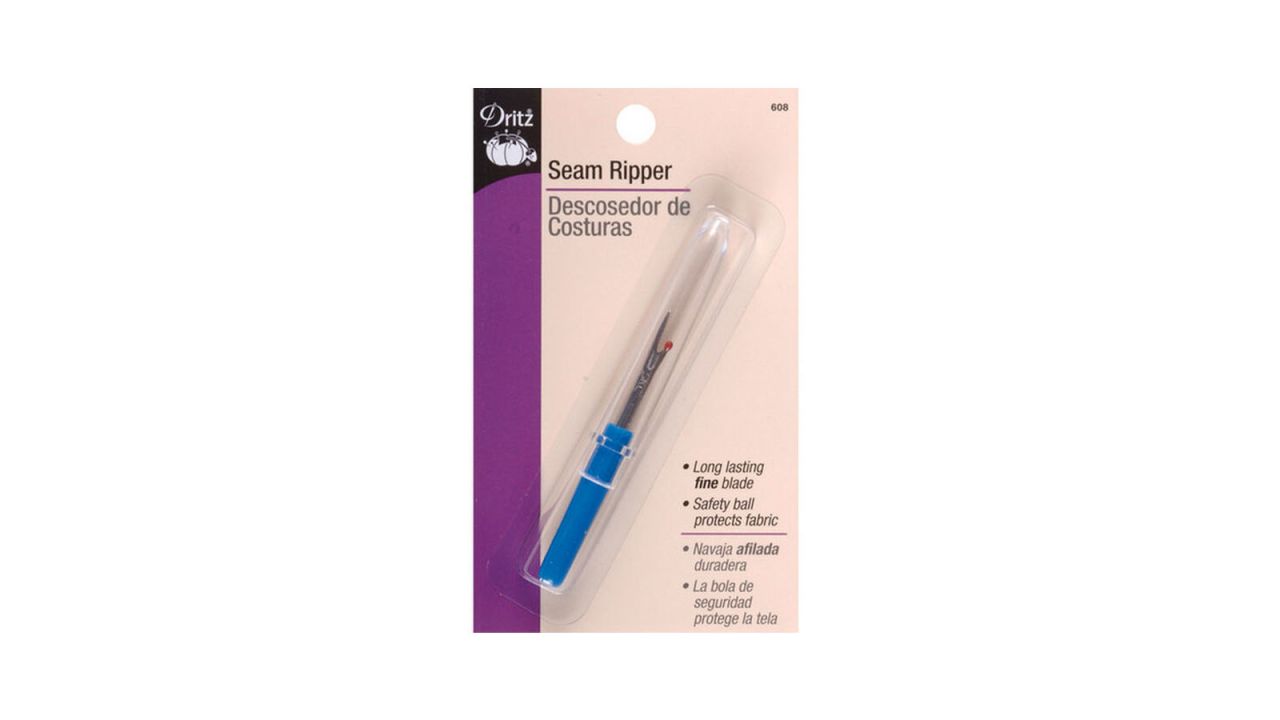
This seam ripper became my new best friend the day I started learning to sew. Even as I’ve progressed (I’m still no professional), it’s one of my most-used tools, whether it’s because I’ve made a mistake, I’ve changed my mind on a stitch or I need to undo an original seam to rework a garment.

When darning, you need to be able to stretch the damaged fabric over some kind of round item or container so that it remains taut while you weave. It can be a jar, an orange … to be honest, I’ve done most of my sock darning with an old Mr. Potato Head from the toy basket I have for my nephews. It gets the job done, but you may want a dedicated darning tool with a handle. Darning mushrooms (like this one) are a bit flatter than darning eggs; I prefer that if I’m working on a larger hole, so I can see it all at once.

Darning can get a bit tedious for some people, which is why many prefer a darning loom — like this one Schubrauer and their husband designed and make from repurposed materials —?that can ease some of the handwork. “A big challenge I have noticed people have is being able to maintain the tension between the sock (or whatever you’re darning) and the tension of the thread,” Schuhbrauer says. “If it doesn’t lay flat and relaxed, that’s where you start getting bunching and twisting, and it ends up being quite uncomfortable to wear.” The darning loom maintains the tension of both the fabric and the thread as you work. As Schuhbrauer says, it’s helpful for beginners learning darning skills, but even if you’re advanced, “it still is miles faster than picking each individual thread over and under by hand.”

Whether you’re sewing by hand or machine, you’ll want somewhere to quickly and easily place your pins as you remove them from the fabric. This bracelet version ensures you won’t be looking all over your work surface every time you need it, and the magnetic surface will make it easy to quickly place the pins without even thinking.

If you’d rather not have something on your wrist, you can’t go wrong with this classic fabric tomato pin cushion. My grandma had one, my mom has one and now I — the newest sewer in the family —?have one, and it’s served us all well.

Use this chalk wheel tool to mark your embroidery or sewing guidelines on fabric before beginning to sew. “It gives a precise and even mark on fabric [and] easily comes off,” Sison says.

You can get as creative and artistic as you want with mending and embroidery, but you can also rely on someone else’s creativity. Stick these water-soluble patterns to your garment, stitch right over the lines and then rinse the fabric to get rid of the transfer.

The thing about mending is you generally don’t need to buy fabric by the yard. Instead, “collect scraps of fabric when you can,” Fulop says. “If you crop a shirt or make jorts, save the fabric you cut off.” If you do want to add extra to your collection, look for batches of remnant or deadstock fabric like these ones from from Fab Scrap, which are collected from New York designers. You can shop by material (like knits or denim), color or go for a mix.

As Fulop says, you can do lots of mending and adjustments without even touching a needle. This double-sided adhesive will permanently bond to your fabric, making it a great option for hemming or cropping lightweight garments.

Sison is well-versed in the materials and tools needed for basic mending, so you can trust this kit she created is well-stocked. “It’s made from scrap materials and includes everything I need, [including] small spools of thread, buttons, a thimble, a threader, needles, pins and foldable scissors,” she says. The pouch is small enough to take with you on the go, but it can also work as a handy at-home kit.

Need something stronger? This iron-on adhesive, which Fulop also recommends, will bond to heavier fabrics —?like denim or wool.

Some people (myself included) can find dealing with tape rolls a bit frustrating — I struggle to maintain a straight line and somehow always find myself accidentally sticking the tape to itself and thus wasting a portion of the roll. If you’re in the same boat, you can go with liquid fabric adhesive instead, like this one suggested by Fulop.?

As Fulop said above, “If something is stained and doesn’t require a structural repair, you can ‘mend’ it by painting over it.” While you can get fabric paints that you’d apply with a brush, paint markers like these ones make it a bit easier to be precise with your design.

Sure, you can find videos online for pretty much every skill you need to learn, but there’s something to be said for having all the (reliable) mending information you need in one place — not to mention being able to take a break from your screen while you learn. Fulop created just that with this book, which includes countless tips, inspiration and step-by-step illustrations for your mending journey.


