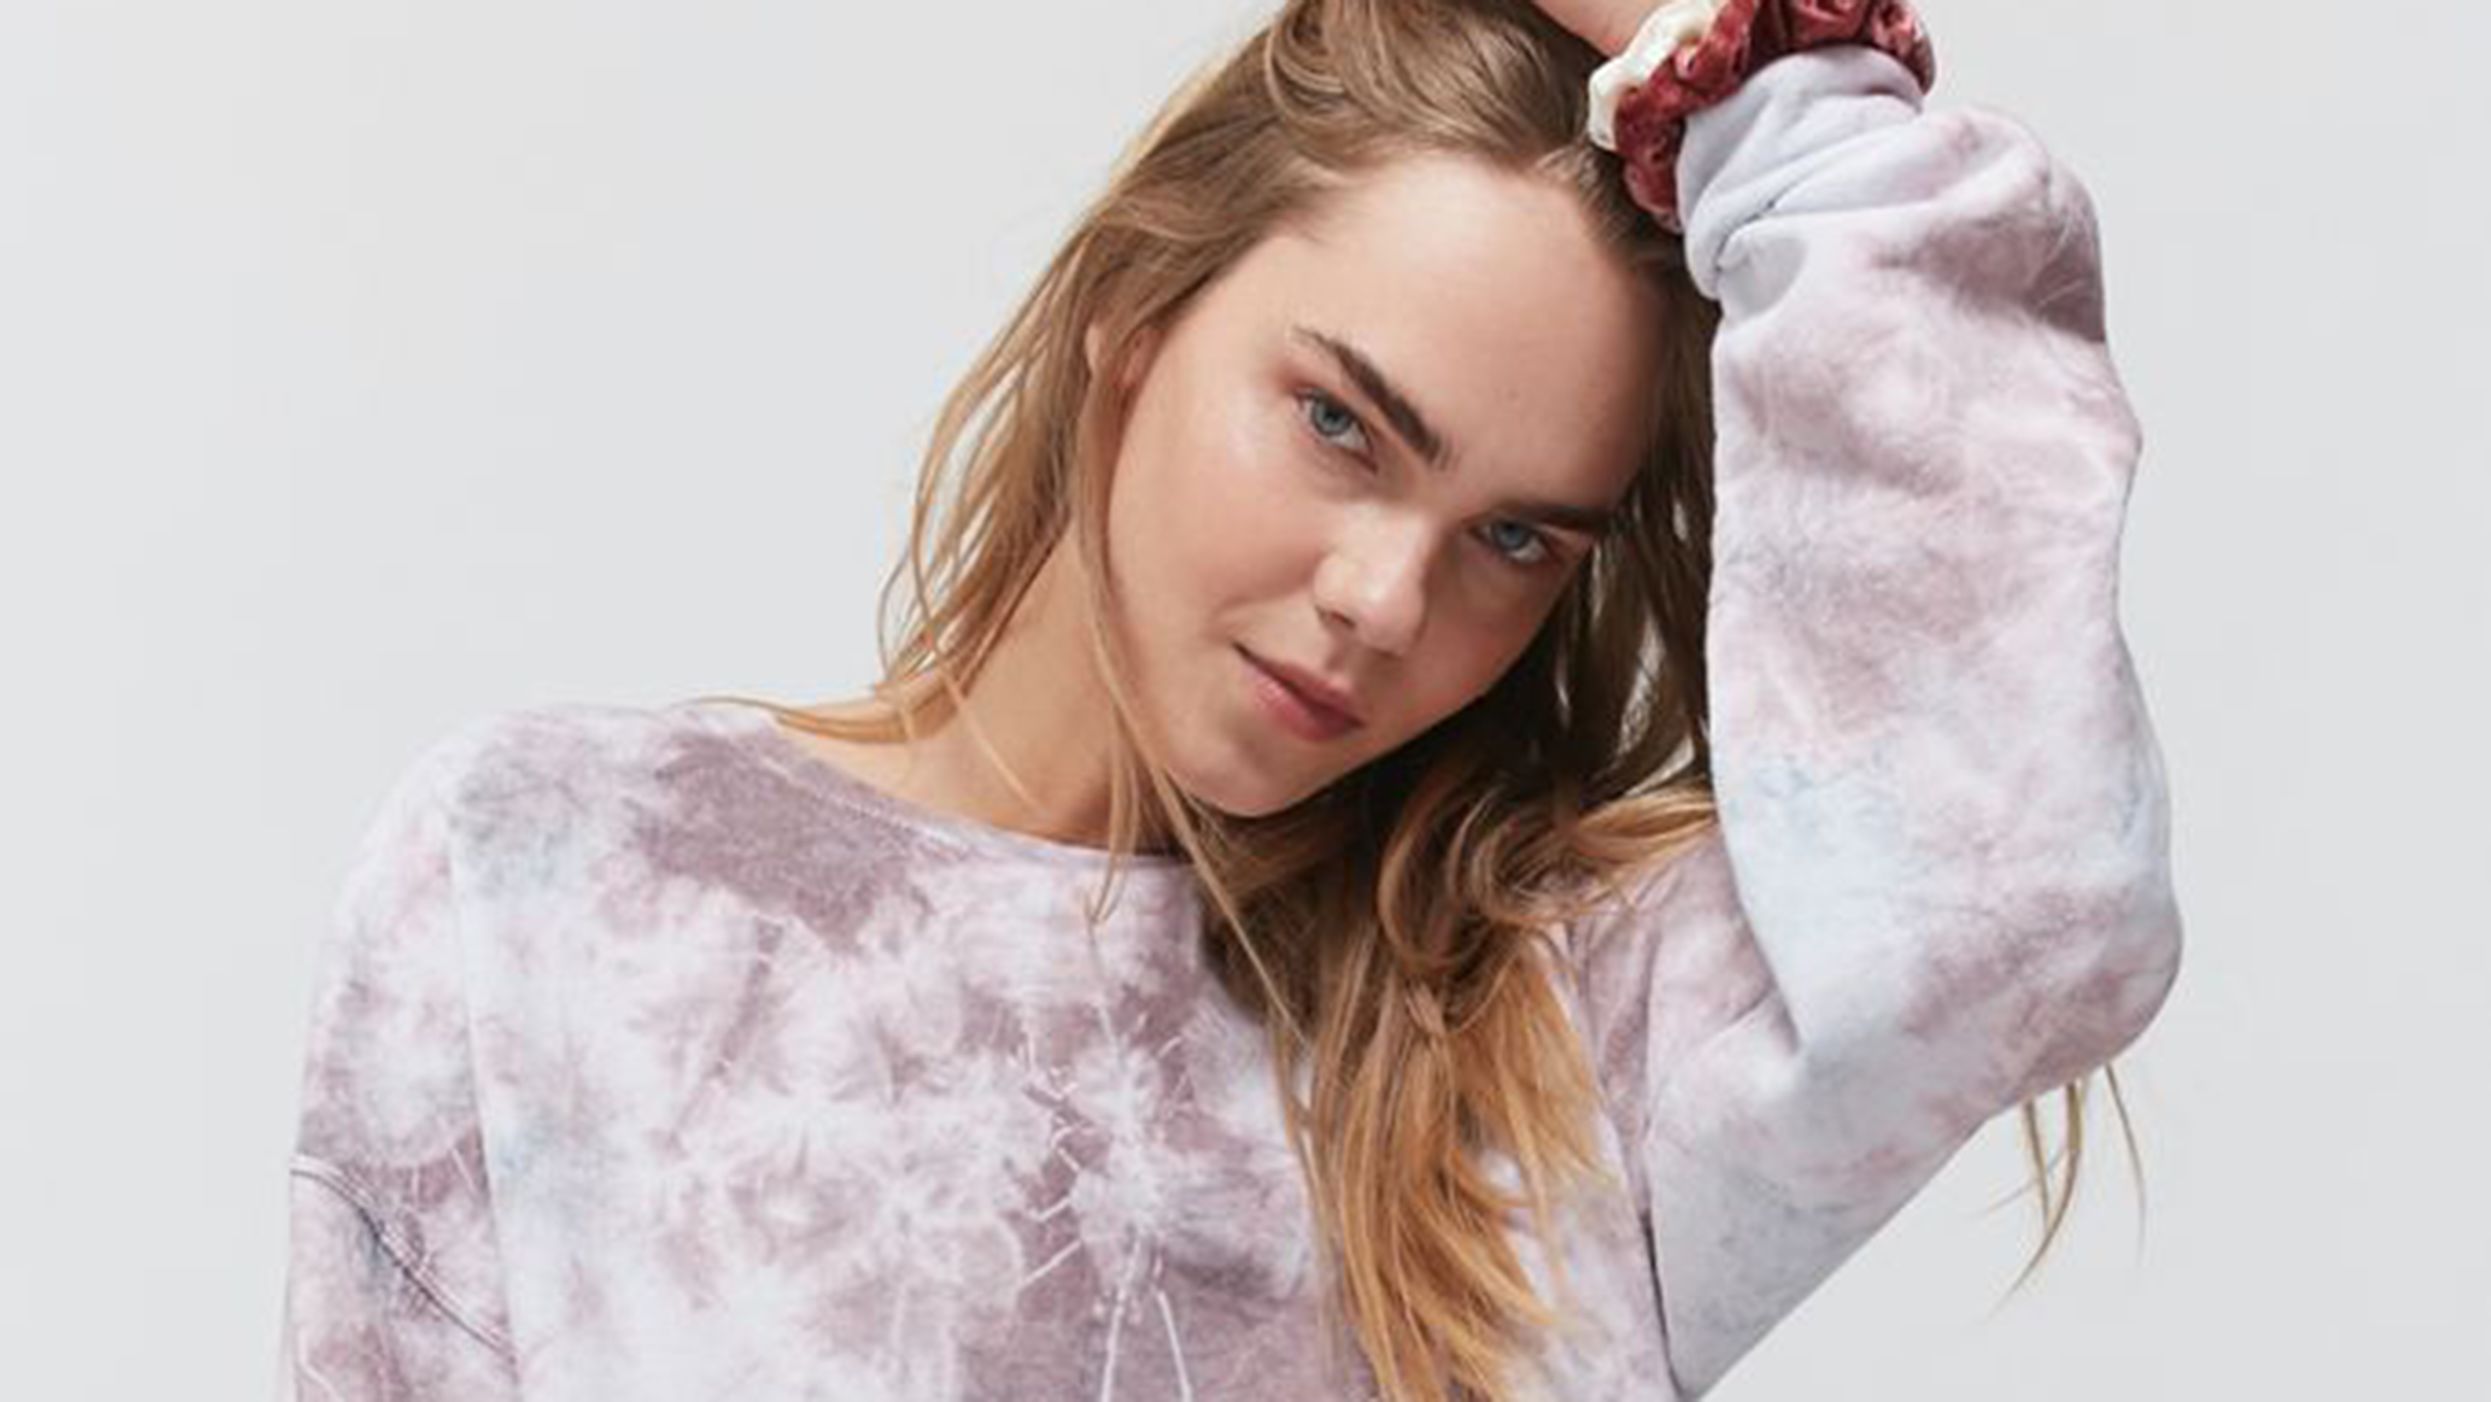
It’s safe to say most of us have been spending a bit more time in loungewear. If you’ve been scrolling through Instagram and TikTok, you’ve probably seen the rising trend of matching tie-dye sweatshirts and sweatpants worn by influencers and celebrities. And just like that, businesses began selling premade sets.
Jordan Baker of @BrownDyedGirl runs a full-time business making tie-dye sweat sets and other apparel. She’s a hot name in the tie-dye industry, thanks in part to celebs like Hannah Brown, Camille Kostek and influencer Danielle Bernstein, who have repped her designs.

“Tie-dye has been around for ages, and I feel that it will never leave the fashion industry,” Baker says. “With everyone quarantined right now, I think it has become such a hot trend because it is a fun DIY that anyone can do at home.”
Olivia Horan is another well known tie-dyer, who runs @ForGoodLuck, a company repurposing vintage evening and bridal wear, and now launching into the tie-dye trend. “I love when my dye work comes out a little funky — it makes it more one-of-a-kind and special,” she says. “Don’t be afraid to experiment with color combinations and techniques.”
To help you get in on this trend — and maybe even pick up a new hobby — we’ll walk you through different tie-dye techniques you can try if you have extra time while staying safe at home.

Baker’s advice for those of us trying this for the first time? “It looks a lot easier than it is,” she says. “Use your creativity and put your own twist on your designs and you’ll create something beautiful!”
Here are some materials to help you start.
Tulip One-Step Tie-Dye Kit ($32; michaels.com

This tie-dye kit comes with 12 bottles of dye powder, 40 rubber bands, 16 pairs of gloves, a reusable surface cover and even a project guide.
Rit 8 oz. All Purpose Liquid Dye ($4.49; joann.com

Take your pick of colorful dyes, which can range from taupe to dark green to bright pink and purple.
Tulip Rubber Bands ($2.99; joann.com

One hundred rubber bands come in this super cheap pack.
AmazonBasics Assorted Size and Color Rubber Bands ($5.49; amazon.com)

And on Amazon, you can get a half-pound bag of them.

The classic swirl
This is a tie-dye pattern you see all over the place. This video will help you make a large swirl starting from the center of your shirt. We like this style on:
Gildan Men’s Heavy Blend Hooded Sweatshirt (starting at $12.30; amazon.com)

Gildan Men’s Fleece Crewneck Sweatshirt (starting at $8.02; amazon.com

Soffe Fleece Pocket Pant (starting at $24.23; amazon.com

Here’s how it’s done: Lay your sweatshirt or chosen piece of apparel on a flat surface. Pinch the center (or the spot you’d like your swirl to start from), and begin to turn your hand like you’re turning a key. As you twist, the sweatshirt will start to twist with you. Keep turning, adjusting the fabric as you go to keep it as flat as possible, tucking in extra fabric. Once you’ve shaped the sweatshirt into a rough circle, use rubber bands to tie your piece.

You don’t need loads of rubber bands to hold your sweatshirt. For this pattern, we’d recommend about four to six. Using rubber bands like this will give you sections to organize with color when you start dyeing. You’ll want to rubber band in the shape of an asterisk. While you wrap the rubber bands, make sure your sweatshirt holds its shape.

To prep your sweatshirt, get it damp. It will help it hold its shape in the rubber bands and help the dye evenly absorb.
Using the instructions that come with the Tulip Tie-Dye Kit, prep your dye. Once you’ve mixed your dye, it’s time to be creative! Using the squeeze bottles, begin applying dye in each rubber band-made section. You can choose as many colors as you’d like. Most of the trendy styles we’ve found on Instagram have used two or three colors.
Once you’ve applied the dye to one side, flip the sweatshirt and apply dye to the other side. If you don’t want white space on your sweatshirt, you can apply dye to the folds. Be careful not to oversaturate your sweatshirt because you don’t want the colors to mix and change!
When you’re done with the dye, cover your sweatshirt with plastic for 6-8 hours to let the dye set. You can stick your sweatshirt in a Ziploc bag or use a grocery bag. Once it’s sat and the dye’s set, rinse the excess dye out in the sink with room-temperature water.
Now it’s time to reveal your design. Cut off the rubber bands and show off the stellar swirl you’ve created. Run the sweatshirt through the washing machine by itself, so as not to risk the dye bleeding into other clothing. Once your sweatshirt has been washed and dried, you’re good to go!
If you’re making a matching set with sweatpants, follow the same steps. To start your spiral, you can pick a starting point for your swirl in the corner or lower on one of the legs.
The scrunch
This is another popular technique used by bloggers and DIYers. This style tie-dye will give you a much less structured pattern on your T-shirt and shorts. For this casual and sporadic pattern, which is also called “the crumple,” you can also check out this video tutorial. We like this pattern on:
Champion Men’s Classic Jersey T-Shirt (starting at $8.22; amazon.com

Champion Women’s Reverse Weave High Waist Shorts ($33.99; dickssportinggoods.com

Again, lay your T-shirt on a flat surface. This technique won’t take as much precision as the swirl. Start by scrunching a part of the T-shirt and secure it with rubber bands. The more you secure, the more white space you’ll create. Do this all over the shirt and then finish it by shaping the T-shirt into a ball and securing this shape with a rubber band or two.
Dampen your T-shirt and shorts. Follow the instructions to mix the Rit All Purpose Dye.
This dye doesn’t come with a squeeze bottle, so we repurposed an old water bottle and poked a small hole in the cap using a drill bit. (You could also do this with a knife or scissors, just be sure to keep the hole small.) Using your makeshift squeeze bottle, start to distribute the dye. For contrast, you’ll want white sections for this design, so don’t cover the entirety of your T-shirt and shorts in dye.

Let the fabric sit for about 30 minutes. To further set the dye, you can wrap your fabric in plastic wrap and place it on a paper towel in the microwave. Run for two minutes. Or if you’re experiencing sunny and warm weather, you can also leave the plastic-wrapped fabric in the sun.
Once you’ve set the dye, remove the rubber bands and reveal your design! Run the clothing through the washer and dryer by itself and your masterpiece is finished.
Reverse tie-dye
This process is slightly different from your regular tie-dye. Instead of starting with white clothes, you’re starting with dyed fabric and using bleach to change the color. You can see a video tutorial of it here. We liked this style with:
Starter Men’s Pull Over Hoodie (starting at $8.71; amazon.com

Starter Men’s Elastic-Bottom Sweatpants with Pockets (starting at $7.57; amazon.com

You can use the same scrunch or swirl patterns outlined above. Once you’ve decided on a pattern and rubber banded your sweatshirt and sweatpants, you’re ready to start with the bleach.
Mix one part bleach with one part water. You want the ratio to be the same so the bleach isn’t harsh on the fabric. Using a squeeze bottle (or your handy dandy water bottle), start “dyeing” the fabric with the bleach the way you would with color dye. The parts of the surface you bleach will be where the color lifts. If you want to lift a lot of the color, cover more surface with the bleach/water mix. If you only want color lifted here and there, don’t use a heavy hand.
Once you’re done with the bleach, let the sweatshirt and sweatpants sit. There’s no time frame, but you’ll want to watch the fabric until it’s lifted to the color you like. Once it has, you can remove the rubber bands and wash and dry your clothes to reveal a reverse tie-dyed set.
Now, if all that work makes you say, “Do I really wanna do this?” of course there are clothes already tie-dyed for you.
Premade tie-dye
Free People Love Tie Dye Tank ($58; nordstrom.com)

This is the perfect addition to your at-home workout ensemble or just something for lounging around the house.
Project Social T Oversized Tie-Dye Tee ($39; urbanoutfitters.com)

You can’t get much more classic than this.
Urban Renewal Recycled Tie-Dye Crew Neck Sweatshirt ($59; urbanoutfitters.com)

They clearly used the scrunch technique.
Women’s Chaps Long Sleeve Cozy Top ($44.99, originally $70; kohls.com)

And they clearly used the swirl.
UO Tie-Dye Crew Sock ($14; urbanoutfitters.com)

And if you’d rather dip your toe in the tie-dye pond (literally), here are some socks.
Note: The prices above reflect the retailer’s listed prices at the time of publication.