You probably know that you should clean the removable components of your coffee maker regularly by washing them with hot, soapy water, or by placing them in the top rack of the dishwasher. (Whether you actually do that is another story!)
But regular cleaning can only go so far in keeping your coffee maker in good working order. From time to time, a deeper cleaning is required to remove buildup that can cause your cup of coffee to taste bitter, stale or just downright nasty. This deep cleaning process is called descaling, and it’s designed to clean the inner components of a coffee maker as well as to deep clean removable parts like filter baskets and carafes.
“What is descaling? All water contains minerals and these minerals over time create scale in your machine’s internal tubes,” Jacques Paradis, an in-house coffee expert and trainer at Philips Domestic Appliance, explains, “which results in problems with flow and the coffee not being as hot as when you purchased your machine. By following the manufacturer’s recommendations your machine will always give you tasty coffee.”
Ahead, with the help of Paradis and other experts, we break down all the steps you need to know to keep every type of coffee maker in tip-top shape, from regular cleaning recommendations to deep cleaning and descaling instructions, including the tools you need for the job.
Essential tools for cleaning your coffee maker
Cleaning a coffee maker, regardless of the type of machine it is, typically does not require expensive or specialty products. These are the tools and products to reach for when your coffee maker needs to be cleaned.
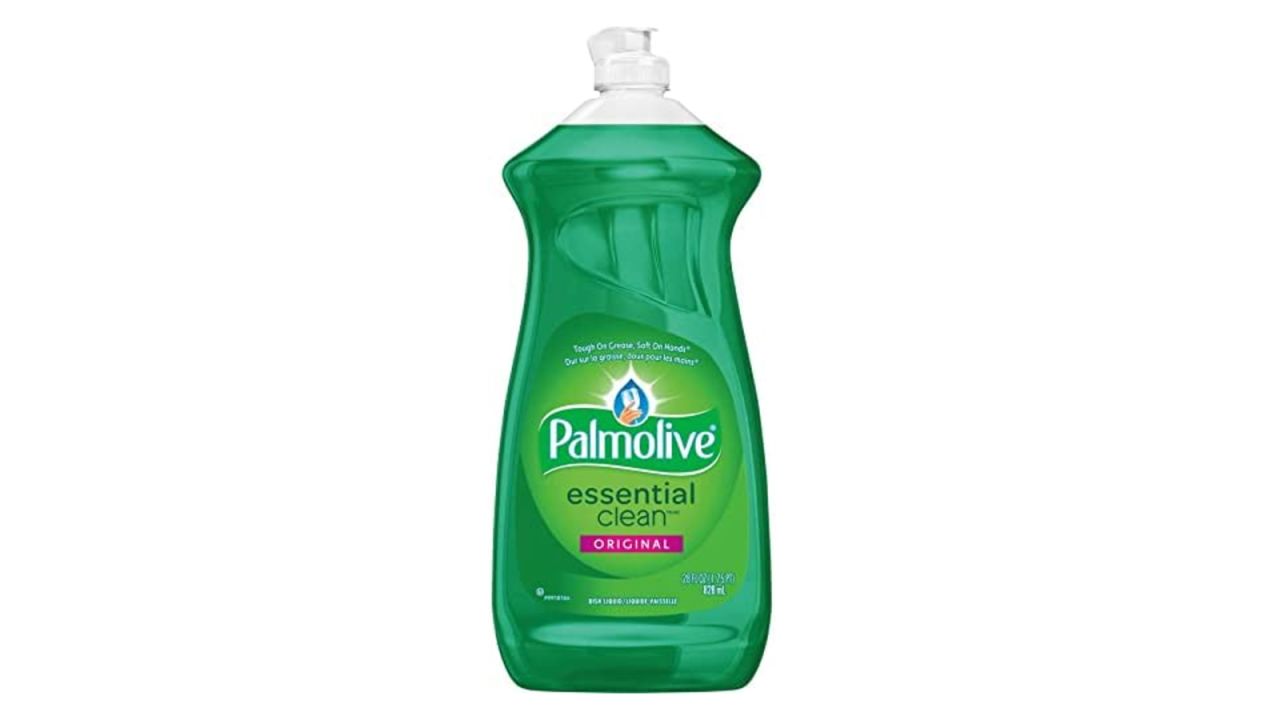
Most coffee maker components —?from the filter basket to the carafe —?can be cleaned with hot, soapy water; many are also machine-washable (check the user’s manual for your machine to determine if the parts are dishwasher-safe). It’s important to clean those parts after every use to keep the machine from developing buildup that will result in a bad-tasting cup of coffee.
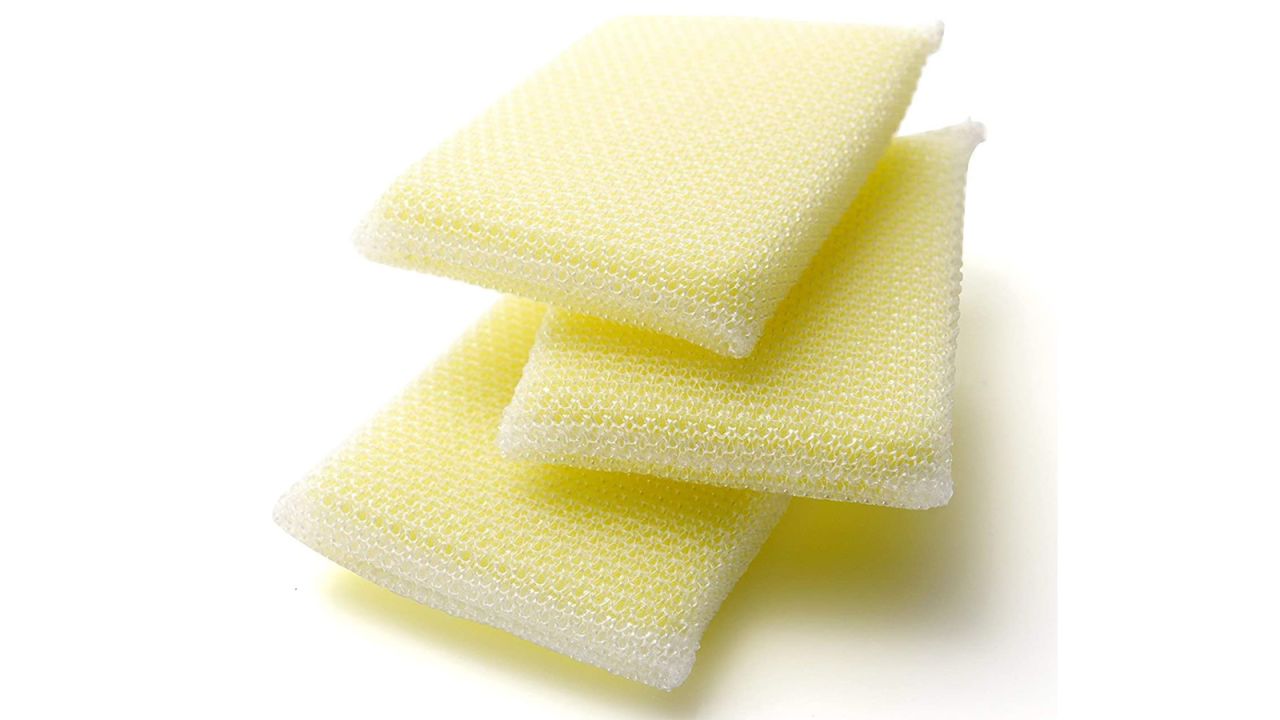
Dobie Pads are non-scratch scrub sponges that are excellent for gently sloughing stains and buildup from delicate materials like glass. While a regular sponge is perfectly fine for washing a coffee carafe, a Dobie Pad can be helpful if you frequently find stubborn stains lingering on the glass.
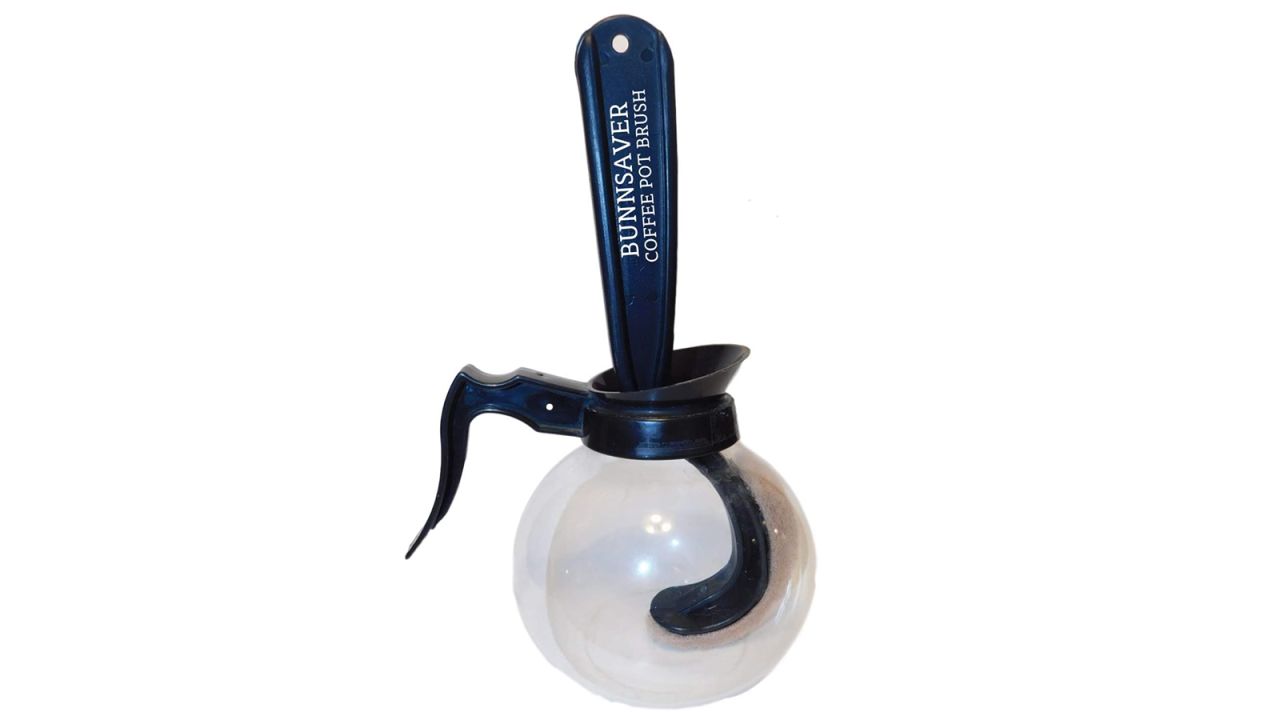
If washing the inside of a coffee carafe with a traditional sponge causes discomfort, a long-handled coffee pot cleaning brush is a great solution to the problem of washing an awkwardly shaped item.
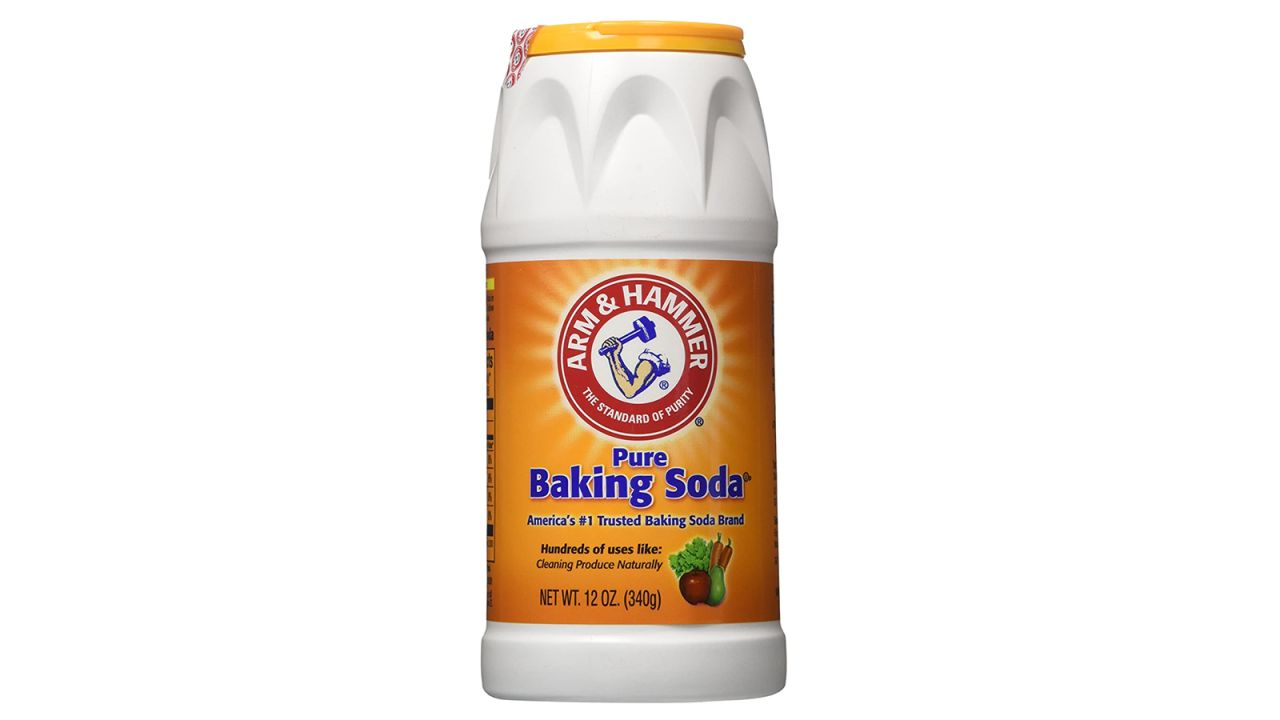
Coffee stains aren’t just for your white work shirt! They will also appear on coffee makers, both on the exterior of the machines and as buildup in the carafe. To remove stubborn coffee stains from glass, use a paste of baking soda and water to gently scrub away buildup.
Cleaning the exterior of a coffee maker is as straightforward as it gets: Simply wipe the unit using a damp microfiber cloth. Microfiber is recommended for the job as it is gentle enough to use on scratch-prone plastic and stainless steel but tough enough to remove stubborn buildup from mineral and oil deposits.
Even with regular maintenance, all coffee makers will need to be descaled. While commercial descalers are available, white vinegar is recommended by experts and is a more cost-effective choice than descaling agents sold by coffee maker manufacturers. White vinegar may also be applied to a microfiber cloth and used to remove stains from the exterior of the machine. Never use commercial glass cleaners like Windex or products that contain ammonia to clean a coffee maker.
For those who hate the smell of vinegar, commercial descalers will be a good alternative. Urnex descaling powder can be used on a variety of coffee makers, including drip brew models, espresso machines, single-serve pod/capsule machines and other small appliances that tend to develop scale such as tea kettles, clothes steamers and humidifiers.
How to clean a standard drip coffee maker

Drip coffee makers should be routinely cleaned after each use by washing the carafe and filter basket with dish soap and hot water. “If you skipped this routine because you were late for work and you see staining on your carafe,” Paradis says, “try scrubbing with water and baking soda.”
Follow these steps to deep clean a drip coffee maker, which should be done once a month to maintain the machine:
- Step 1: Pour 1 to 2 cups of white vinegar into the reservoir (less for smaller-capacity machines, more for larger-capacity machines) and fill the remaining space with water.
- Step 2: Allow to stand for 30 minutes.
- Step 3: Run the vinegar solution through a brewing cycle.
- Step 4: Dump out the vinegar solution and rinse the carafe.
- Step 5: Run 2 to 3 brewing cycles with clean water to flush out the vinegar.
How to clean grind and brew coffee makers
Grind and brew coffee makers require a bit more maintenance than standard drip machines. The carafe and filter basket should be washed with warm, soapy water after every use. Then, once a month, the machine will need to be deep cleaned and descaled. Depending on the design of the machine, the coffee bean chute may also need to be cleaned regularly; manufacturers suggest every two weeks.
- Step 1: Unplug the machine and remove the carafe, grinder basket, filter basket, cover and holder, and reservoir lid from the machine, and wash them by hand with hot, soapy water, or in the top rack of the dishwasher.
- Step 2: Using a damp microfiber cloth, wipe the exterior of the coffee maker, including the grinder basket housing, being careful not to get the grinder motor wet —?ensuring that the cloth is only barely damp will help to protect the motor.
- Step 3: Using a damp microfiber cloth and a small drop of dish soap, wipe the carafe plate to remove coffee residue and stains. Then, rinse the cloth and wipe the plate with clean water to remove sudsy residue.
- Step 4: Descale the machine using the same method as for drip coffee makers (above).
How to clean French press and AeroPress coffee makers

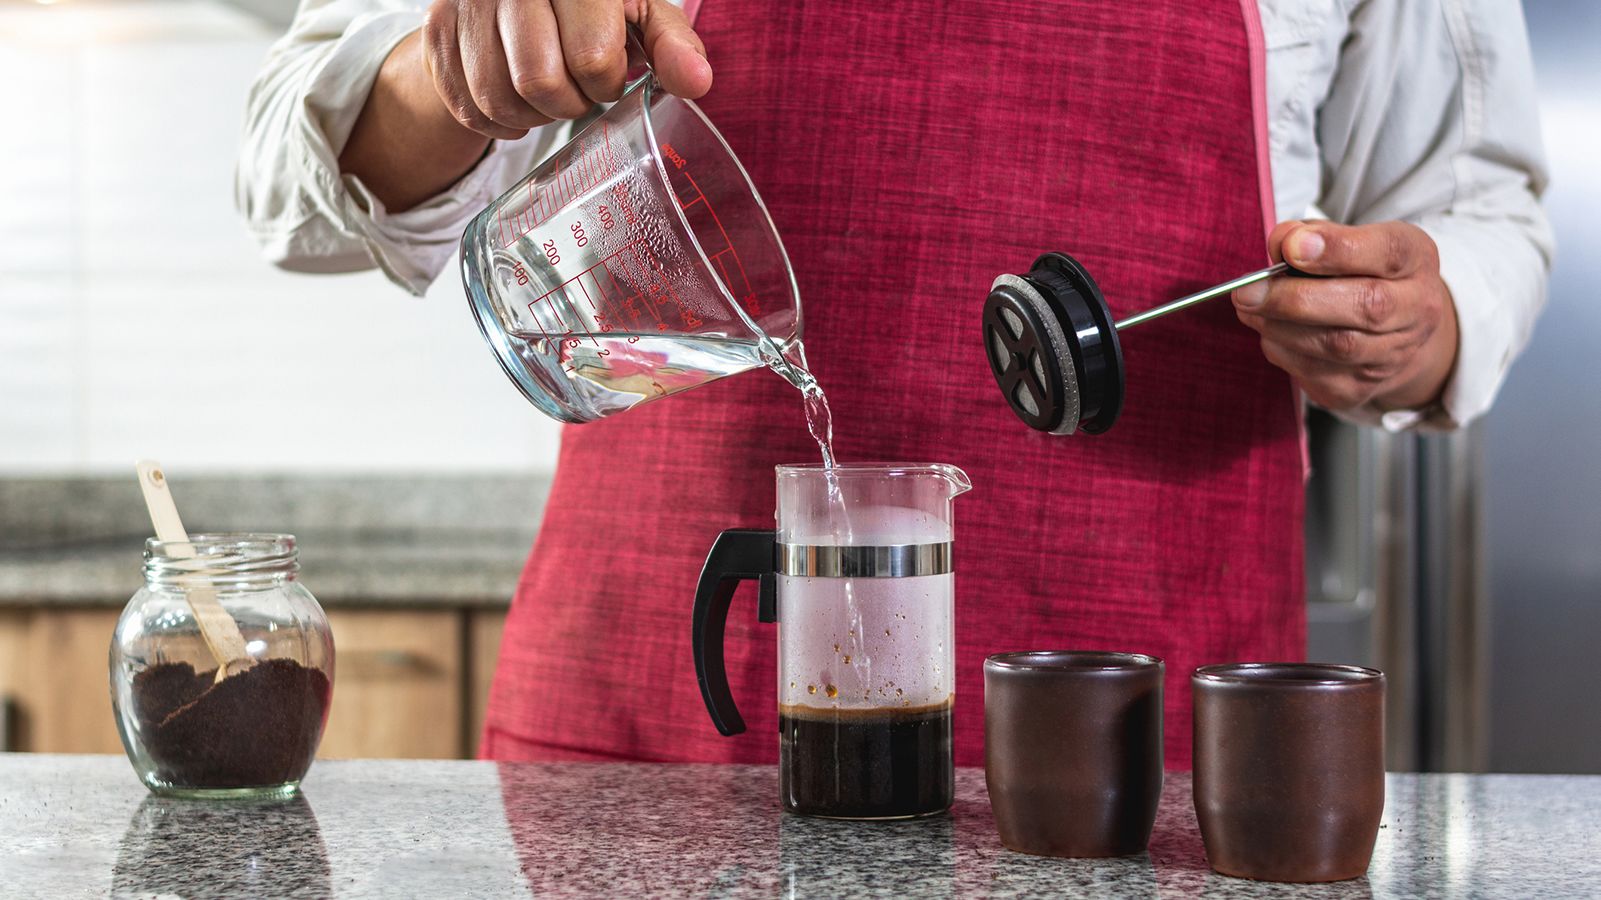
Paradis recommends cleaning French press and AeroPress coffee makers after each use with hot, soapy water. This includes emptying the grounds and washing the entire unit, including the vessel, strainer and plunger. Once a week, do a deeper cleaning to remove buildup from the oils in coffee and the minerals in water.
- Step 1: Dump out used coffee grounds, using a rubber spatula or wooden spoon to dislodge any stuck-on grounds, if necessary; avoid using metal utensils as they can scratch or chip the glass.
- Step 2: Disassemble the components and rinse them individually with warm water, then reassemble.
- Step 3: Fill the carafe with hot, soapy water and insert the plunger. Plunge the filter several times in the soapy water to remove coffee oil residue and any stuck-on grounds.
- Step 4: Dump out the sudsy water, rinse each component and allow the unit to air-dry, or towel dry it with a soft dishcloth.
How to clean a Keurig and other single-serve coffee makers

“Single-serve coffee machines need little maintenance for everyday use,” Paradis says, “but after 400 coffees brewed, you will need to descale your machine.” A Keurig rep recommends descaling every three to six months.
To deep clean and descale a single-serve coffee maker, follow these steps:
- Step 1: Unplug the unit and allow it to cool if it has been recently used.
- Step 2: Wash the water reservoir and lid, drip tray and filter basket with warm, soapy water. Dry them and return them to the machine.
- Step 3: If the machine has a milk frother, remove the lid and whisk from inside the frother, and wash the interior of the frother, lid and whisk with warm, soapy water. Dry all parts thoroughly using a soft cloth, then reassemble.
- Step 4: Descale the machine with a white vinegar solution using the same method as for drip coffee makers (above).
