Keyboards, according to experts, can be dirtier than toilet seats. If this factoid has you muttering, “Ewww,” to yourself, this guide is for you: We’ve consulted experts to ask how, and how often, to clean a keyboard.
The instructions in this guide apply to both flush-key keyboards like the ones found on laptops as well as to mechanical keyboards. Regardless of the style of your keyboard, it should be cleaned regularly to prevent the spread of germs and bacteria, and deep cleaned at least once a year to ensure the keys themselves remain in good working order.
How often to clean a keyboard
The answer to the question “How often should I clean my keyboard?” is “More often than you are,” and this is because keyboards —?like light switches, toilet flushers and other things that are handled constantly —?are considered “high-touch items.” High-touch items need to be cleaned more regularly than most things to prevent the spread of virus-causing germs and bacteria.
Cleaning your keyboard at least weekly is strongly recommended, and this is especially true if you or someone using the keyboard has been sick.
While establishing a regular keyboard-cleaning routine is ideal, there are some signs to look out for that indicate it’s time to perform maintenance. “If buttons on keyboards require more effort to press or can’t be pressed down at all,” says Keana Valentin, a customer advisor at Microsoft, “they are overdue for cleaning.” Visual signs that a keyboard needs to be cleaned, according to Madison Zheng at NuPhy, include “dust around the frame and keycaps as well as debris and dirt between the keys.”
What you need to clean a keyboard
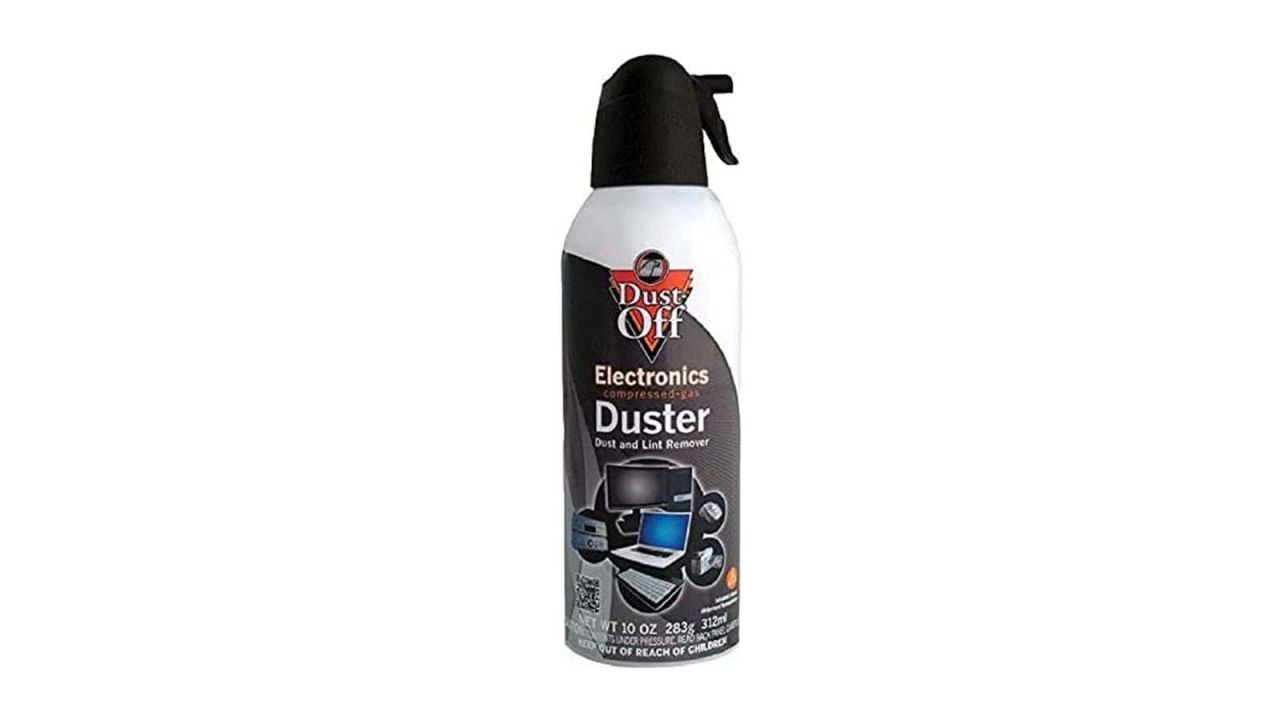
“Keyboards can get extremely gross very quickly if you don’t take care of them,” says Underscored’s senior tech writer, Mike Andronico. He uses compressed air spray to get crumbs and other general debris out of his keyboards.

Those looking to cut down on waste may want to skip compressed air and invest in a power duster, which comes with an assortment of attachments, nozzles and brushes that allow you to clean everything from small electrical components to car vents.

After using compressed air or a power duster, wipe away dust, crumbs and other debris with a microfiber wipe. Andronico likes the MagicFiber cleaning cloths, which he says also takes care of any smudges on the keys.

In addition to dusting and wiping her keyboard regularly, Valentin also deep cleans it to ensure it’s in good working order. “At least once a year, I remove all the keycaps with a keycap removing tool for a deeper clean.”

Sometimes, the right tool for the job is found in the bathroom. “To get between buttons or keyboard keys,” Valentin says, “I might use a cotton swab or the flat end of a hairpin.”

When cleaning a keyboard, especially after someone has been sick, use a small amount of isopropyl alcohol on a microfiber cloth or a cotton swab to disinfect and eliminate any viruses or bacteria that may be present, and to lift stubborn buildup.

For more regular cleaning, premoistened cleaning wipes like Windex Electronic Wipes are a handy way to give keyboards a once-over.

Lysol Wipes, and other similar multipurpose cleaning wipes, can also be used to clean and disinfect a keyboard —?just be sure to wring them out before using them to clean electronics to ensure that excess liquid doesn’t seep into the components.
What to avoid when cleaning a keyboard
When it comes to deep cleaning a keyboard, there is an order of operations to know about and observe: Always use compressed air before doing anything else. Compressed air will dislodge all manner of dirt, dust, hair, crumbs, etc. from between keys that will leave a mess of its own in need of cleaning. If you wipe the whole keyboard down before using compressed air, you’ll find that you need to wipe the whole keyboard down again after using the compressed air.
To ensure that you don’t cause damage while cleaning a keyboard, don’t spray any type of liquid cleaner directly onto the keyboard and don’t scrub or scour the keycaps.
How to clean a keyboard
The experts we spoke to provided the following instructions on how to perform both routine and deep cleaning on a keyboard.

Routine cleaning
Step 1: Wipe the keyboard
With the keyboard unplugged or the computer turned off, use a microfiber cloth, either dry or swabbed with a small amount of isopropyl alcohol, or a premoistened cleaning wipe, to wipe the keys.
Step 2: Detail, if needed
If there is buildup around the keys, use a cotton swab moistened with isopropyl alcohol to clean in between the keys.
Deep cleaning
Step 1: Unplug keyboard
Before deep cleaning a keyboard, unplug the keyboard and/or turn off the computer.
Step 2: Eliminate dust, hair, crumbs, etc.
Use compressed air or a power blower to dislodge dirt, hair, crumbs and other debris embedded in the keyboard.
Step 3: Remove and clean keycaps
Take a photo of the keyboard to reference when reassembling. Then use a keycap tool to remove the keycaps. Soak the keys in warm, soapy water or wipe them with a microfiber cloth dipped in soapy water.
Step 4: Clean area under keys
Apply a small amount of isopropyl alcohol to a microfiber cloth or cotton swab and clean the space underneath the keys. Be careful to use only a small amount of liquid to avoid damaging electronic components.
Step 5: Reassemble and wipe keyboard
Replace the keycaps, making sure that the keycaps, as well as the space underneath them, are completely dry before reassembling. Then wipe the keyboard with a dry microfiber cloth to remove any lingering debris or residue from cleaning.