If you live by the philosophy “if you want something done right, then do it yourself,” you might be thinking of installing your own solar panels. There are certainly plenty of good reasons to do so. By performing the labor yourself, you can cut costs in half. You’ll also learn about how your solar system works, making it easier to troubleshoot any problems that may occur with the system in the future.
But while there are many benefits to mounting your own solar panels, it’s not a project for the inexperienced. There’s the complicated process of pulling permits, the risks involved with working on a roof, the scary proposition of drilling holes through your shingles and the inherent dangers of working with electrical connections.
With all of this in mind, weighing the benefits and risks of installing solar panels yourself before investing in that DIY solar kit you’ve been eyeing is crucial.
Key takeaways:
You can save up to 50% of the cost to install solar panels by installing them yourself.
Although the cost savings may be tempting, solar panel installation is not recommended for the average DIYer because of tricky installation and permitting.
Professional installation ensures your panels are installed correctly and safely.
Before you install
While you may be anxious to get started, there are several steps you need to complete before you can buy your system to ensure your solar panel project goes smoothly. “You want to do the proper planning and get all the approvals in place before you buy anything,” said Deep Patel, CEO and founder of Go Green Solar, a retailer of DIY solar panel kits.
Calculate your energy needs. Use past energy bills to determine how many kilowatt-hours (kWh) of energy your household uses each year and use that as a starting point. Patel said you should also consider how much energy you’ll use in the future. “If you’re buying an electric car in two years, then you’ll need a system that can meet that goal.”
Evaluate your sun exposure. Once you know how much energy you use annually, determine the amount of direct sunlight your home receives to see how many panels you’ll need to meet your energy demands.
You can use the National Renewable Energy Laboratory’s PVWatts calculator to help you. By entering your address and annual energy usage, this handy calculator can determine the size of the solar system you need to meet your energy needs based on the orientation of your home and the average sun exposure it receives.
Plan the solar panel layout. Next, assess your roof to determine how many solar panels it can hold. Take the total area of open space on the roof section you plan to use for your solar array and divide it by 15, the square footage of a solar panel, to determine how many will fit. If you don’t want to climb onto your roof with a tape measure, you can also use the roof size estimator on the PVWatts site, which uses satellite images to help you measure your roof.
While you’re at it, assess the condition of your roof. If it requires repairs or will need replacement within the next few years, make those improvements before installing your solar system.
Get building code, utility and HOA approval. Before installing your system, submit plans to your local building department, electric utility, and homeowners’ association (HOA) if you have one. All three must sign off on your project before you can proceed. Patel said you should resist the urge to buy your panels before completing this crucial step, or you could end up with an expensive solar panel kit you can’t install.
Choose a payment option. Once you have the proper permits and approvals and know what size system your home needs, it’s time to purchase your panels. You have several options to cover their cost. You can finance the system by obtaining a solar loan or taking out a home equity loan to pay for it. Leasing solar panels is also an option; however, solar leases have significant drawbacks. Since you don’t own leased panels, you won’t be able to take advantage of federal tax credits, and leased solar panels can make it more complicated to sell your home or perform maintenance on your roof down the road.
Solar panel installation instructions
Working time: 30 hours
Total time: 40 days
Skill level: Advanced
Project cost: $7,500 (for a 5 kW system)
Tools
- Cordless drill
- Drill bits
- Impact driver
- Socket wrench set
- Pencil
- Chalk line
- Tape measure
- Ladder
- Reciprocating saw w/ metal cutting blade
- Safety glasses
- Fall protection kit
Materials
- Solar panel kit
- Roofing sealant
- Wire
- Conduit
- Junction boxes
1. Install the racking system
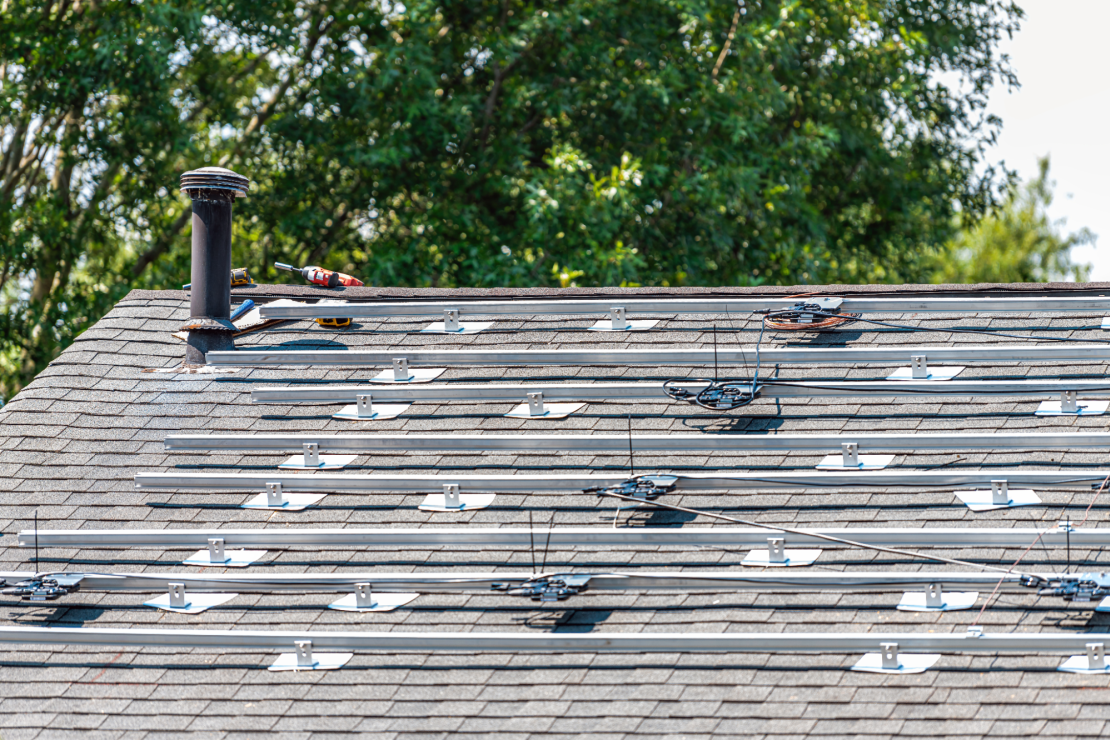
The racking system holds the solar panel mounts to the roof framing. Locate and mark your roof rafters using a hammer or mallet to tap on the roof. The location of the studs will feel solid, while the area between them will sound hollow. Once you’ve located the rafters, mark them with a chalk line, then follow the solar panel manufacturer’s instructions for measuring and mounting the racking system to the rafters.

2. Install the panels
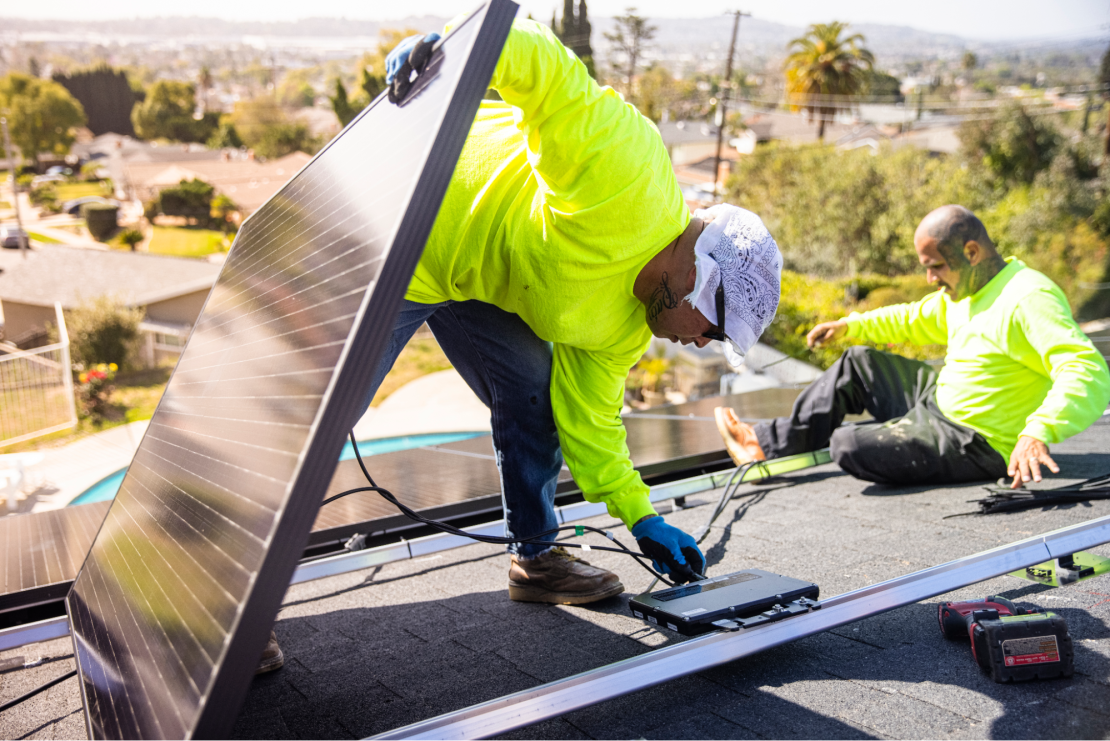
Attach the microinverters — which are responsible for converting the direct current electricity (DC) that your solar panels create to the alternating current (AC) electricity that your home uses — to the back of the solar panels, then attach each panel to the rack using clamps.

3. Install batteries
Install your battery backup, which will store electricity for use at night or on overcast days.
4. Wire the panels to your home’s electrical box
Working with electricity is the most intimidating part of the solar panel installation process for homeowners. “Many homeowners say, ‘Hey, I can mount the solar panels. That’s really easy for me, but I’m really scared of messing around in my electrical service panel’,” said Patel. He said homeowners who don’t feel comfortable performing electrical work will often hire a contractor for this part of the project.
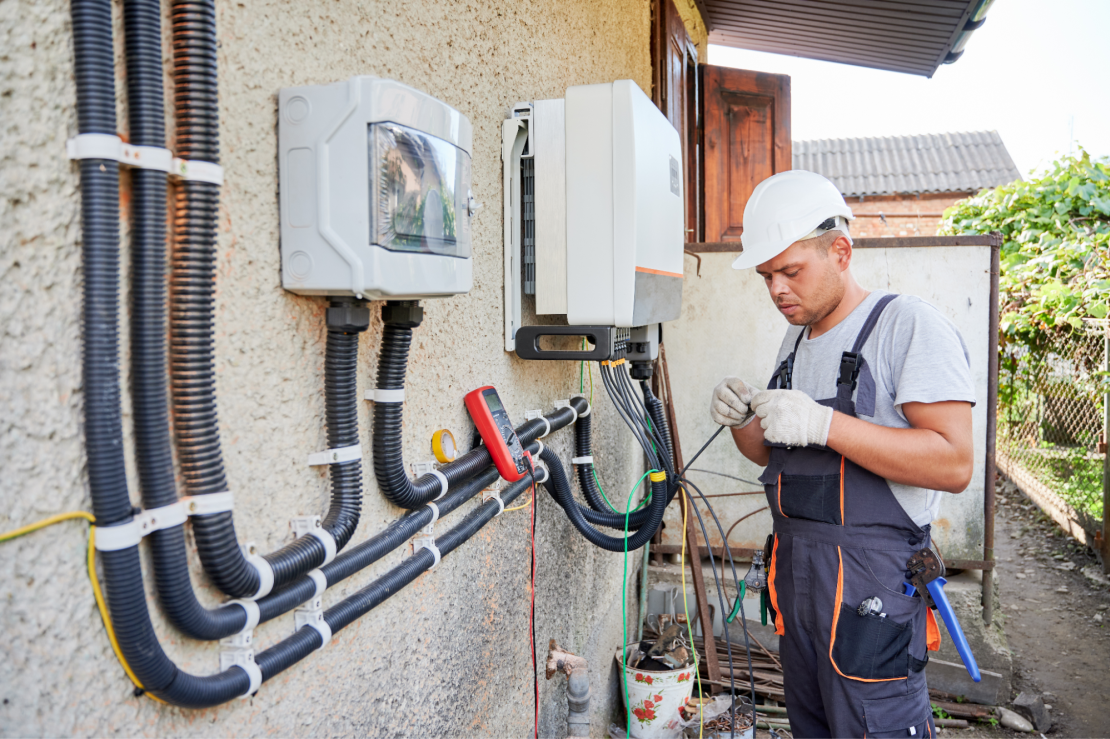
If you choose to handle the wiring on your own, use the electrical diagram in your kit to complete the wiring. You’ll need to run the wires from each microinverter to a junction box on the roof, then down the exterior wall of your home to a PV junction box, which allows you to connect and disconnect your solar array from your home’s electricity. Lastly, run wiring from the PV junction box to your home’s main circuit breaker box.

5. Get final approvals
Now that your solar system is installed, there are still a few more boxes to check before you can bring it online. Make an appointment with the local building inspector to get final approval for your solar system. During his evaluation, the building inspector will make a list of any necessary changes you need to make to bring it up to code. Once you have a signed approval from the building inspector, send it to your utility company, which will issue you permission to operate (PTO).
Professional installation vs. DIY
Before deciding whether to DIY a solar panel installation, consider the pros and cons. The primary incentive for handling the installation on your own is savings. You can cut the cost of adding solar panels in half by doing the installation on your own.
By installing the system yourself, you’ll also better understand how your solar system works, making it easier to perform your own maintenance and repairs down the road. You also may be able to get the job completed more quickly by doing it yourself, as most professional companies schedule installations more than a month out.
However, there are many benefits to getting a professional installation. Professional installers use technicians with experience to ensure the installation is done right. A professional installer will determine what size and type of solar system is best for your home and procure all the necessary permits from utility companies, building inspectors and HOAs. Some solar companies sell kits to DIYers that help their customers size their solar system and obtain permits.
With professional installation, you also won’t have to carve out the time needed to complete the installation, nor do you have to risk life and limb by working on the roof and wiring panels to your home’s electrical system.
Pros and cons of professional vs. DIY solar panel installation
Professionally installed
Pros
- Expert installation from experienced technicians
- Plan system and procure permits for you
- Complete all the labor, so you don’t have to
Cons
- Higher costs
- Potentially longer installation timeline
Self-installed
Pros
- Lower cost
- Gain a deep understanding of how the system works
- Can typically start the project sooner
Cons
- Requires complex planning and installation
- Large time commitment
- Danger of working on the roof and with electricity
- May need to procure permits on your own
Cost-benefit analysis
While installing your own solar panels isn’t for the casual DIY-er, you stand to save a significant amount of money by doing it yourself. The average 5 kilowatt (kW) solar panel system costs about $15,000, or $3 per watt, for professional installation. According to a 2023 report from the Solar Energies Industry Association, about half of that is associated with installation costs, so you’ll save around $7,500 by installing the system yourself, not including government incentives.
Average cost of professional vs. self-installed 5 kW solar system
|
Professionally installed
|
Self-installed
|
|
|---|---|---|
| Per watt | $3 per watt |
$1.50 per watt |
| Total | $15,000 |
$7,500 |
The quality of the solar panels you choose can also dramatically impact the overall price. Polycrystalline panels are more affordable at about $1 per watt but aren’t as efficient as monocrystalline panels, which cost about $1.50 per watt. This means you’ll have to put more polycrystalline panels on your roof to generate the same amount of electricity as monocrystalline panels. Additionally, polycrystalline panels last about 20 to 35 years, whereas monocrystalline panels can last 40 years or more.
Applying for government incentives, rebates and tax credits
As with professionally installed solar systems, you can take advantage of federal tax credits when you purchase and install your own solar panels. Thanks to the Inflation Reduction Act, you can get back 30% of the cost of your solar panels from now through 2032. This tax credit is available whether you purchase the solar panels with cash or finance them. Make sure you keep all your receipts to claim the credit on your federal income tax return the following April.
Picking a solar panel provider
Installing solar panels involves careful planning, obtaining permits, and working with electrical systems, all of which can be very confusing. Choosing a solar panel company that doesn’t just sell you the solar panels but also walks you through the planning and installation process is key, said Patel.
A solar panel provider that also acts as a solar consultant will handle many pre-installation steps, including calculating the right size system for your home and creating the plans you must submit to the building inspector, HOA and electric utility. They’ll also be on call to help guide you through the installation process should you encounter problems.
“You can go with a company that is cheapest, but they just sell you a box of parts that they’ll deliver to your driveway. After that, you’re on your own,” Patel said. “Going with a reputable company is really key. Choose someone who is with you all the way through to the end and isn’t just selling you a bunch of parts that may or may not work for your home.”


