
Waxing a car is surprisingly easy and does not require the purchase of a lot of costly products. You pretty much just need wax and a microfiber towel for application.

If you’ve never waxed a car before, you might think of the job as an intimidating one.?And, indeed, there are some specific products and techniques to know about to achieve optimal results and, more importantly, to avoid causing costly damage to your vehicle’s exterior.
Of course, there are loads of waxes, polishers and exterior detailing products worth knowing about, so if you want more than just “wax and a towel,” we’ve got plenty of those to take your car waxing experience to the next level.
To create this guide to waxing a car the right way, we tapped experts Michael Stoops, a senior global product & training specialist at Meguiar’s, and Michael Schultz, a senior VP of R&D global at Turtle Wax, and asked them to explain what products you need to wax a car — and the right way to use them.
Essential supplies for waxing a car
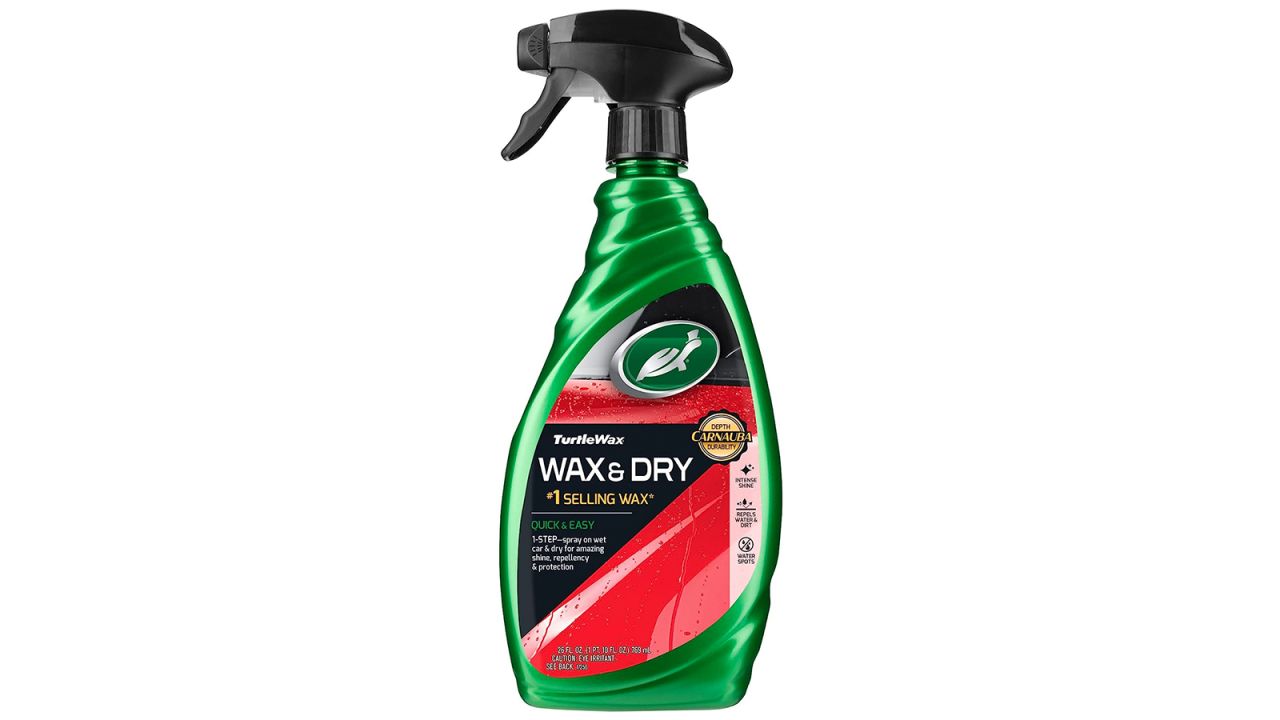
Spray waxes are incredibly easy to use and will be the right choice for people who are totally new to waxing a car. When starting out and familiarizing yourself with care car products, Schultz says, “My suggestion is always trade up to higher-end wax products.” If you’ve never waxed a car before, Schultz says that Turtle Wax Wax and Dry is one of the easiest products to use.

If you want to level up but are still interested in the convenience of spray waxes, Schultz recommends a ceramic formula. “These higher-end products contain more active shine and protective ingredients,” he says, “and often contain the latest polymer shine and protection technology.”

Liquid and paste waxes require a bit more work than spray waxes but remain a popular choice for waxing a car. Liquid waxes have a slight edge over paste waxes for being slightly easier to apply, but the difference in formulas is quite slim.

To use liquid or paste wax, you’ll need foam applicator pads. Choose a set of pads that are machine-washable so you can use them over and over again without having to repurchase.

Regardless of which formula you choose, a microfiber towel is essential for waxing a car. Like foam applicator pads, these towels can be washed and reused over and over again.
The right order to wash, wax and detail a car
Working in the correct order is important when detailing a car, whether you’re just washing it or you’ll be performing a full wash, wax and interior detailing. Schultz recommends working in the following order:
- Clean wheels and tires
- Wash and dry the car
- Surface prep and restoration (optional)
- Wax and shine
- Interior detailing
Essential products for surface prep and restoration
“Surface prep and restoration is an optional yet important step,” Schultz says. After washing and drying the car, he says to inspect the exterior for the following:
- Headlight clarity
- Dull or faded trim
- Finish stains
- Water spots
- Scratches
- Swirl marks
- Bonded paint contaminants
- Accumulated bugs and tar stains

“The presence of above-surface contaminants is easily determined by simply running your hand over the clean and dry surface of the paint,” Stoops explains. “If it feels rough, then a clay bar treatment should be done prior to waxing.”

“Below-surface defects can be seen under good light,” Stoops says. He suggests pulling the vehicle into direct sunlight or using a powerful LED flashlight to detect swirls, fine scratches and other below-surface defects after washing and drying the car. “Below-surface defects can be removed with a light compound,” he says, “either by hand or with a dual-action polisher and the appropriate pads, if so desired. While not absolutely necessary, this step can go a long way to improving the overall appearance of your vehicle.”

As a person who has waxed a car by hand and with a polisher, I can faithfully report that the polisher did not make the job significantly easier. I can also faithfully report that the polisher made the job significantly cooler and more fun.

If you frequently park your car in a place with trees or if you live in a particularly insect-prone area, use a bug and tar remover after washing but before waxing to lift sap, tar, bugs and other sticky little things from the car’s surface.

Headlights that have become dull or yellowed are a safety hazard and will make the appearance of your car look terrible. A headlight restoration kit can return the headlights to an almost-new appearance without requiring power tools or expensive trips to the auto body shop.

If, during surface prep inspection, you note that the car’s trim has sustained damage, use a trim restoration kit to clean and shine as well as to add a layer of protection against weather and road conditions.
How to wax a car with spray wax

“Today’s spray wax and spray coatings offer protection to repel the assaults of the road and environment with an easy spray and wipe,” Schultz says. “If you like to wash and wax often, Turtle Wax Wax and Dry is one of the easiest products to use on a regular basis.”
Step 1: Apply spray wax in sections
The car should be cool to the touch; avoid waxing in direct sun and/or on a hot car, which can lead to streaks and an uneven shine. Working in sections of 2 feet. by 2 feet, apply one spray of wax and use one side of a microfiber towel folded into quarters to spread the wax.
Step 2: Wax horizontal surfaces
Wax the horizontal surfaces of the car —?the hood, roof and trunk — first. Apply the spray wax, spread it with one side of the microfiber cloth, then turn the cloth over and use the other side to lightly buff the wax until it shines. When the cloth becomes saturated, switch to a new one.
Step 3: Wax vertical surfaces
Next, wax the vertical surfaces of the car —?the doors and body panels —?using the same technique. Use only one spray of wax per section and avoid overuse of the product, which will not lead to better protection and will add a lot of unnecessary work for you.
How to wax a car with liquid or paste wax

Before waxing a car with liquid or paste wax, Stoops says, “Ensure that the vehicle is clean and dry and that the surface is cool to the touch. Inspect for any above-surface contaminants and remove with a clay bar if needed. Doing so will make the application of any wax or sealant easier and maximize the durability of that product.”
Step 1: Read directions
The behavior of liquid and paste waxes can vary greatly from brand to brand, so it’s critical to read the usage instructions. “Always read the directions on the bottle or can, as not all waxes behave the same when applied,” Stoops says, “nor do they all require the same amount of time to dry before wiping off.” It’s helpful to note that some waxes haze over and turn white when applied, while others can seem like they’re not drying or are disappearing altogether.
Step 2: Apply wax to pad
Apply a small amount of wax to a foam applicator pad, and avoid the urge to use more wax than is actually needed for the job. “More wax does not equal better protection,” Stoops says. “It only means you end up working harder while waxing your vehicle. Thin, even coats are best.”
Step 3: Apply wax to car
Working in sections, begin applying the wax to the paint using overlapping circular or straight line motions. Apply more wax to the applicator as needed. Allow the product to dry for the amount of time specified in the directions.
Step 4: Wipe excess wax
Use a clean, dry microfiber towel to wipe excess wax, being careful not to buff the wax you just applied off the car entirely. “There is no need to buff the finish to a high shine,” Stoops explains, “that isn’t really the way waxing works. Doing so just makes the job more difficult, and it could actually remove the protection you’re trying to add in the first place. So don’t make this job harder than it needs to be!”


